Tutorial: Creating an easy to manage static website using localwp, GitHub, and Cloudflare
The problem
Nowadays, whether you’re in a creative industry, a technical industry, business, or you would just like a corner of the internet to show off your skills, the best way to centralize your portfolio is by having a website. However, the truth is for a lot of people, where to start is this big black box of tools, technology, dollar signs, and trying to decide which one is the best fit for your business or portfolio.
For post people who want to build their own website, there three levels of difficulty/price you’re faced with and could expect when building a website:
-
Easy and Expensive: Usually a service that manages all the technical details for you, you just design and click “Publish” - usually for a paid subscription (often pricey!)
-
Moderately technical first-time setup, then cheap: This includes some technical details you will have to set up the first time you create your website, but is free other than the domain name (usually between $10 to $20 a year)
-
The web dev veteran approach: If you’re already comfortable with HTML/CSS/JavaScript, or you know a framework and how to you use, this article is most likely not for you. This web dev veteran approach gives you full control for the same price as the previous point, but assumes you know how to code, build, and deploy a website.
Who is this post for? I’ll be addressing the needs of the middle point: The average non-technical Joe who doesn’t mind the first-time technical setup, doesn’t want to spend any more money than necessary, and still having an easy to manage, professional looking website.
Background
Assuming you’re the average non-technical Joe, we need a little bit of terminology:
Static website: Only YOU update the content on the website. Think of it like a locked bulletin board; Its only purpose is displaying information, and only you have the key to manually update the information on the website
Domain name: The actual name of the website. example.com is the domain name of example.com, zackerydrake.com is the domain name of the site you’re most likely reading this on.
Domain Name System (DNS): The phonebook of the internet. If you want to get to zackerydrake.com, you type zackerydrake.com into your browser, and DNS figures out WHERE that website actually is. In this tutorial our website will be hosted on a free service called Cloudflare Pages (WHERE), which creates domain names that looks something like “example-website.pages.dev”, but we will have our own domain name “example.com” that DNS will use to figure out HOW to get to our page on Cloudflare Pages.
Content Delivery Network (CDN): This is what actually publishes your website to the internet. A CDN can deliver your website worldwide!
GitHub Repository: Think of a repository as a place to store a bunch of files. On GitHub, we’ll create a repository where we’ll store all of our website’s files.
Tools and platforms we’ll use
We’ll use a couple tools and platforms to help us streamline our website making process:
Wordpress (wordpress.org): A free tool for creating websites visually by dragging and dropping elements, typing directly in the site, and previewing our website before deploying it. Aka a Content Management System (CMS).
Local: A tool that lets you edit Wordpress sites right on your own computer for free.
SimplyStatic: A tool that will let us export the code for our website
GitHub ( github.com ): A platform for sharing code and files. Usually used by developers for collaborating and sharing code. We’ll use GitHub as a middleman to help share the generated code of our website.
Cloudflare: Offers a CDN (using Cloudflare Pages) and DNS. We’ll be able to name and deploy our website all in one spot.
Designing our website
First we need to make our website. We’ll be using Local for installing and editing our Wordpress site right on our own computer.
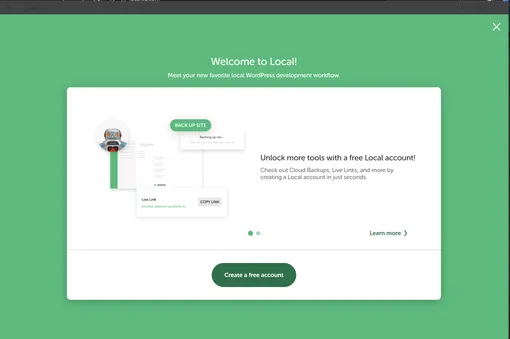
After installing Local, you’ll be greeted with a “Welcome to Local” page prompting you to create an account. An account is not necessary for our purposes, and you can close this using the X in the top right.

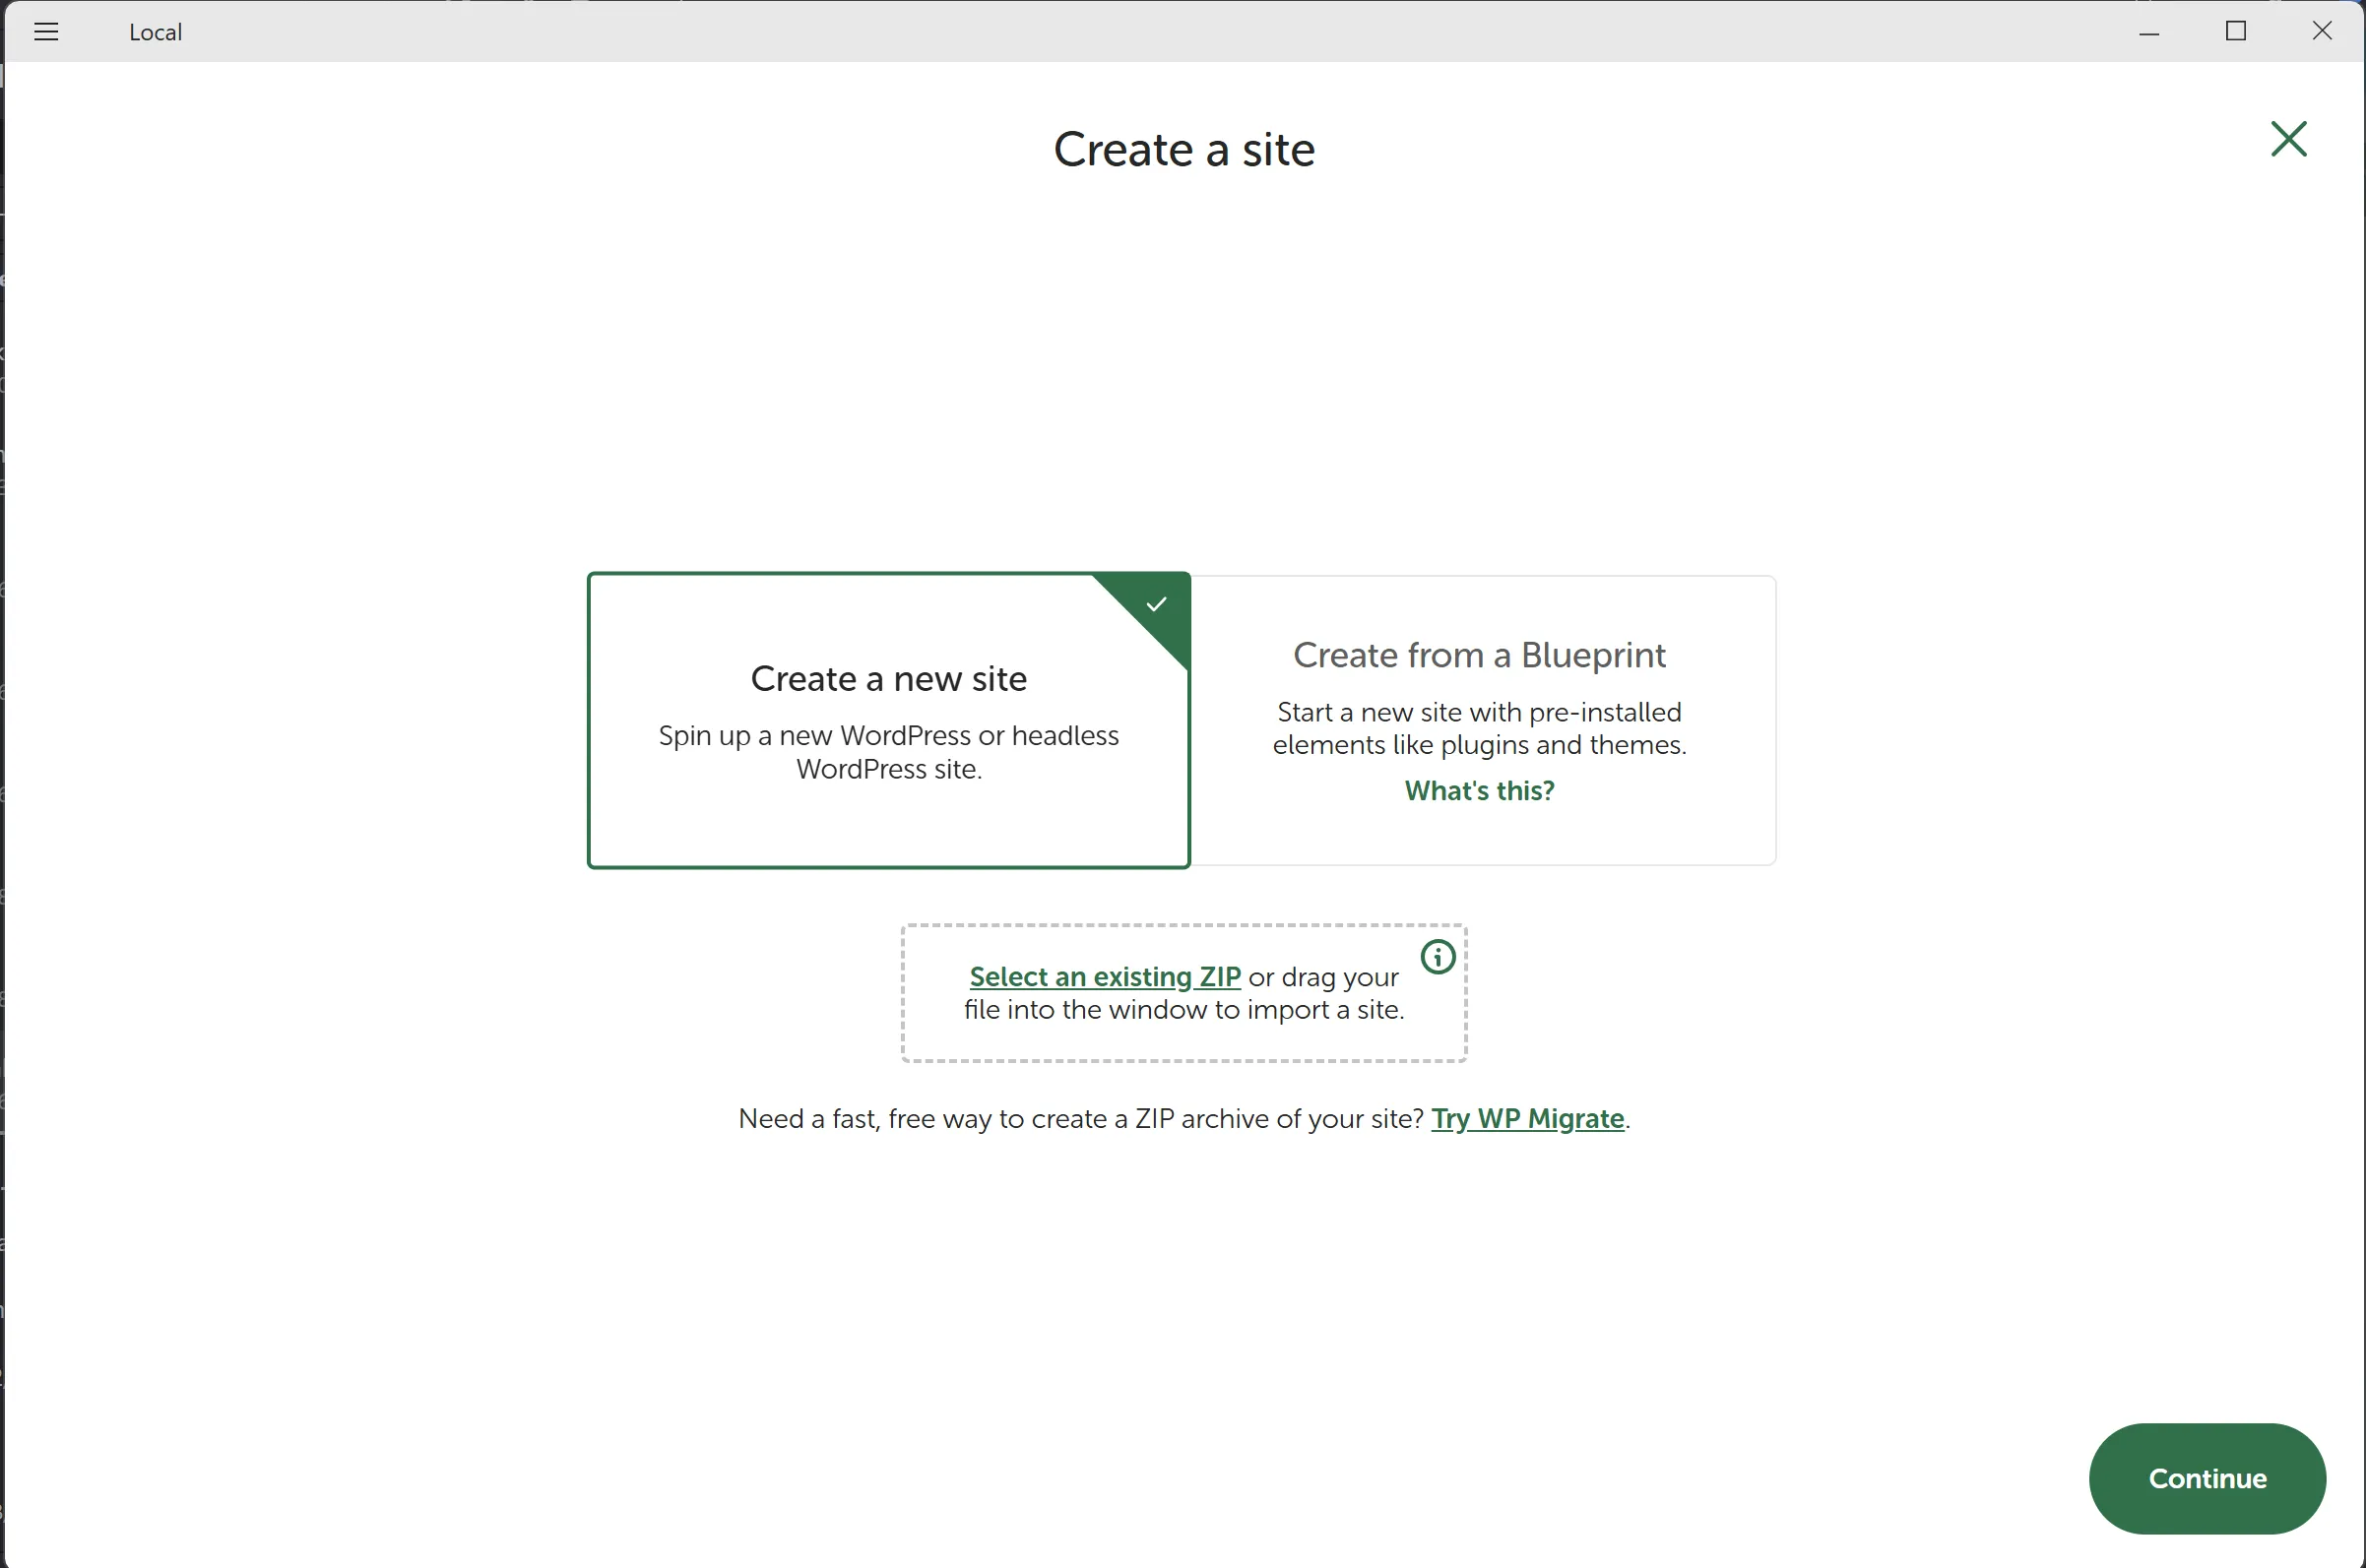
Create a new page
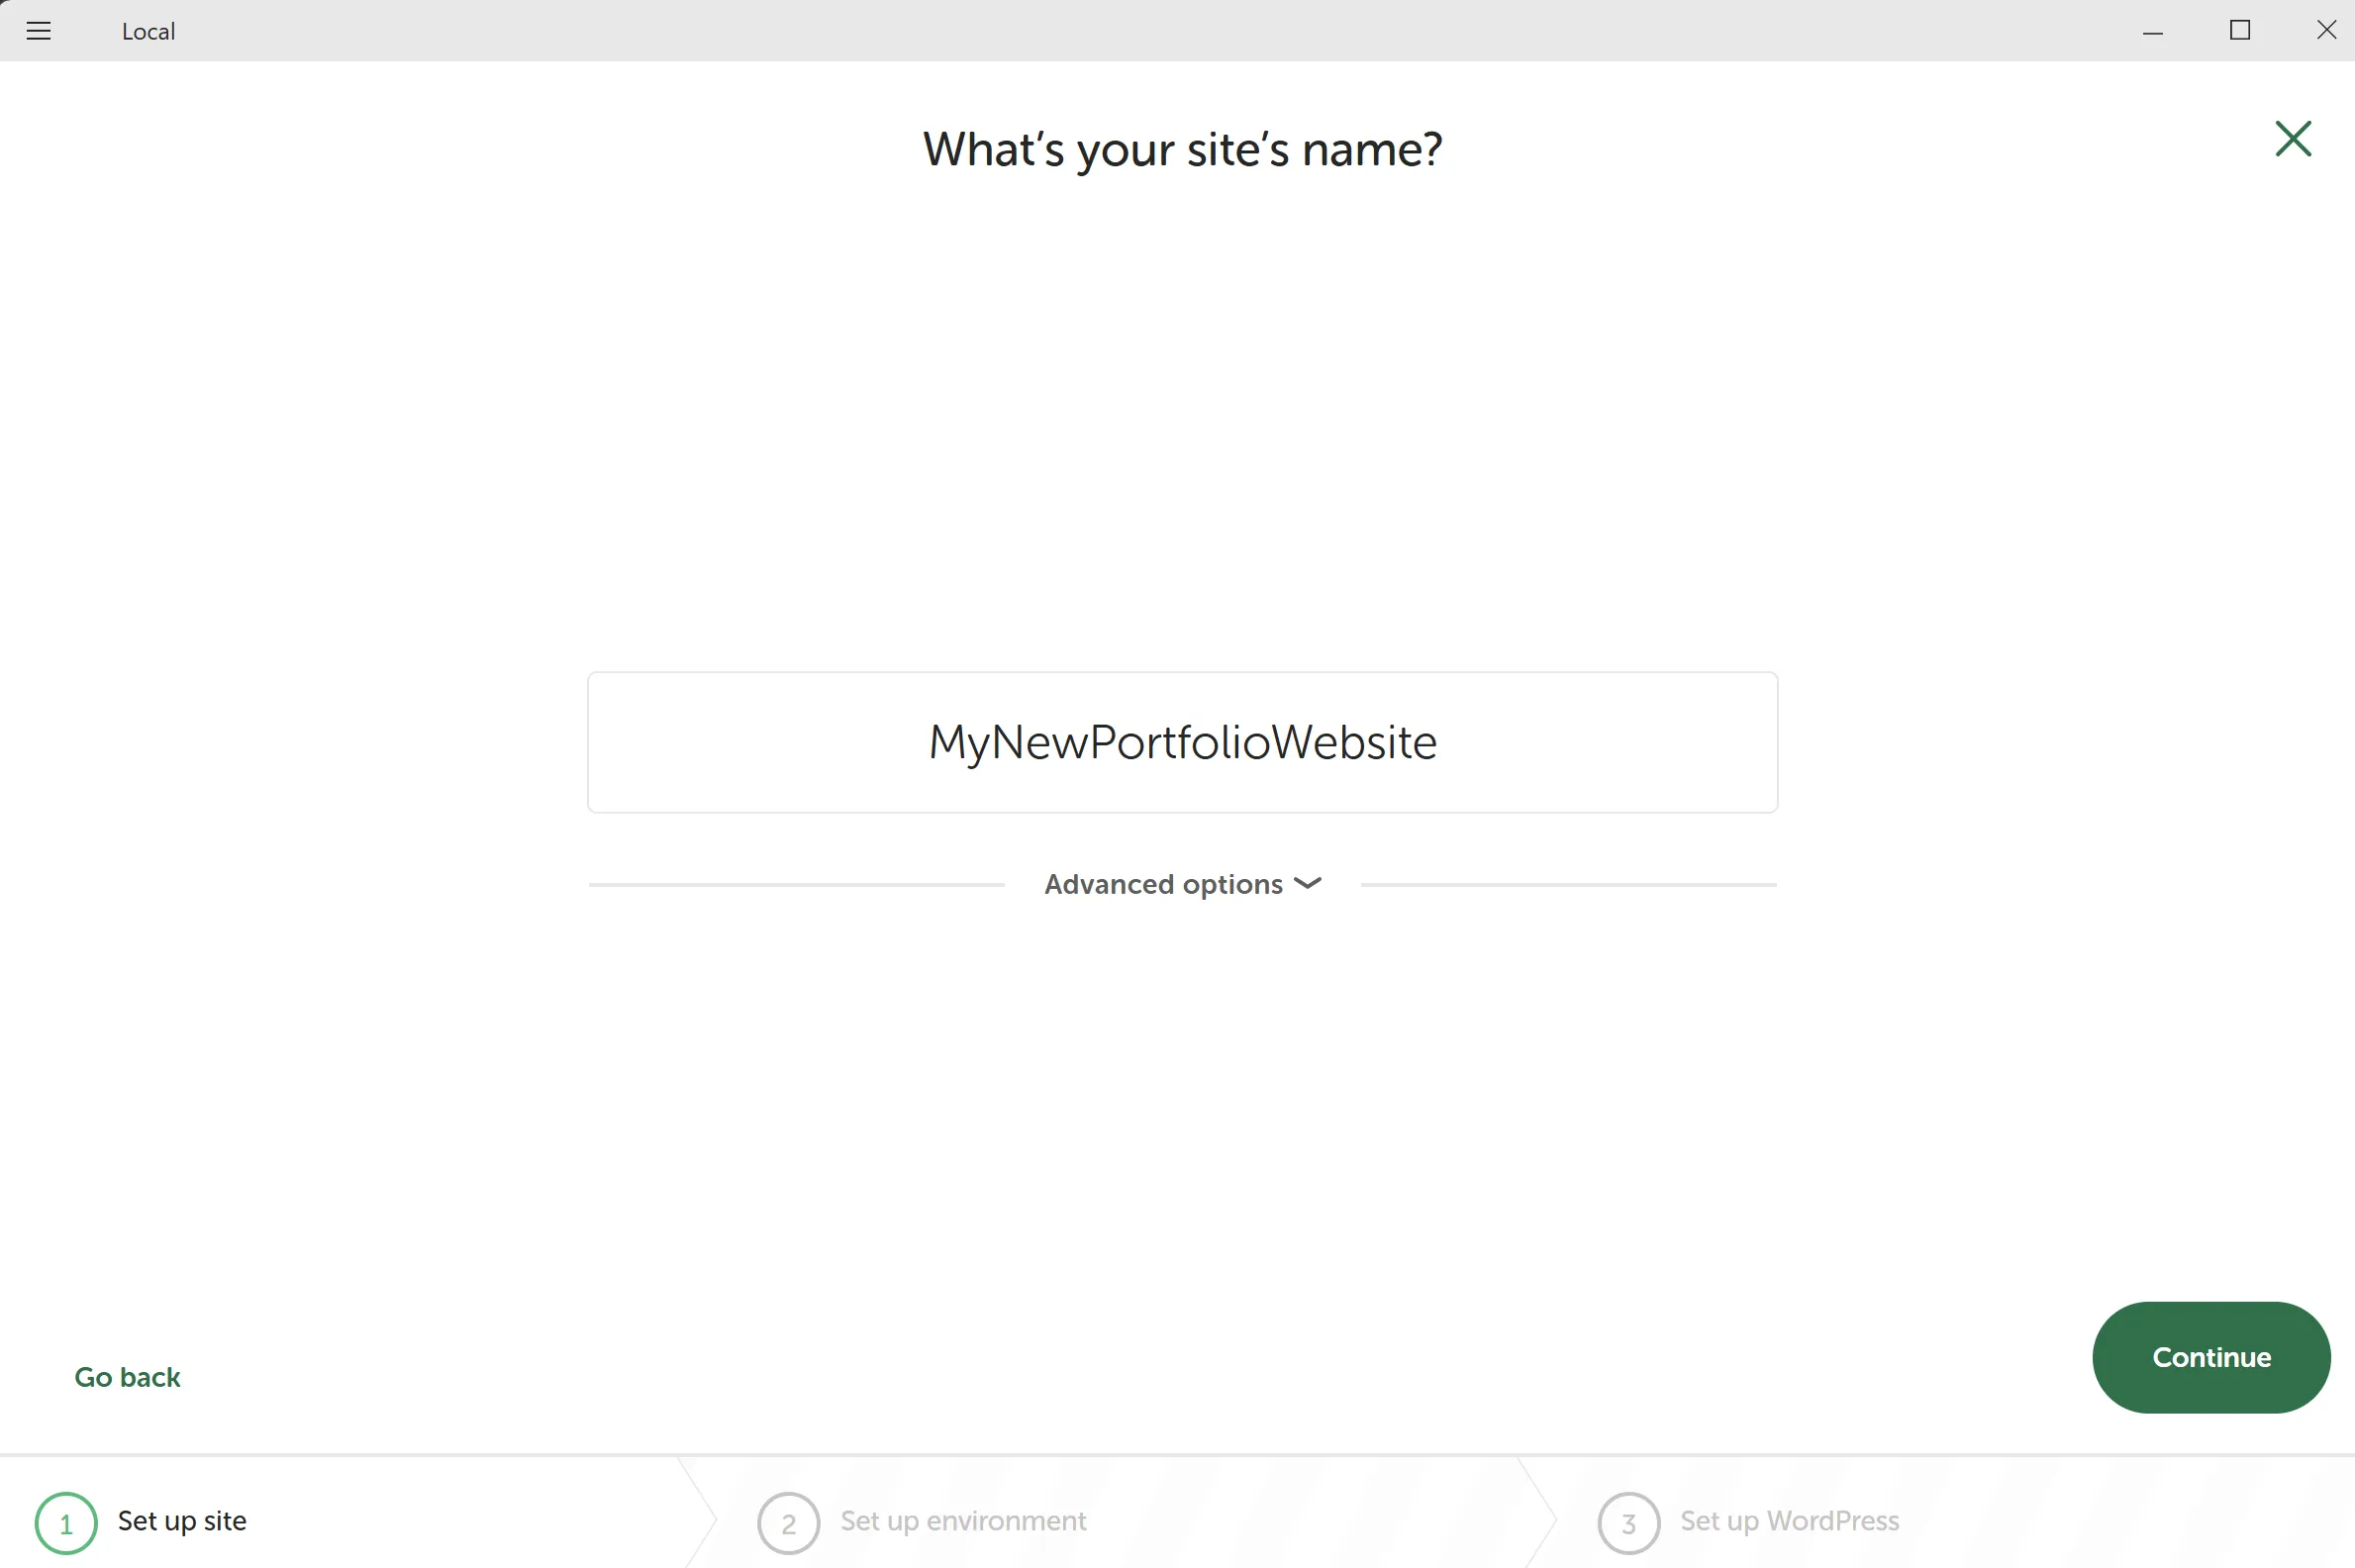
Give your website a title,
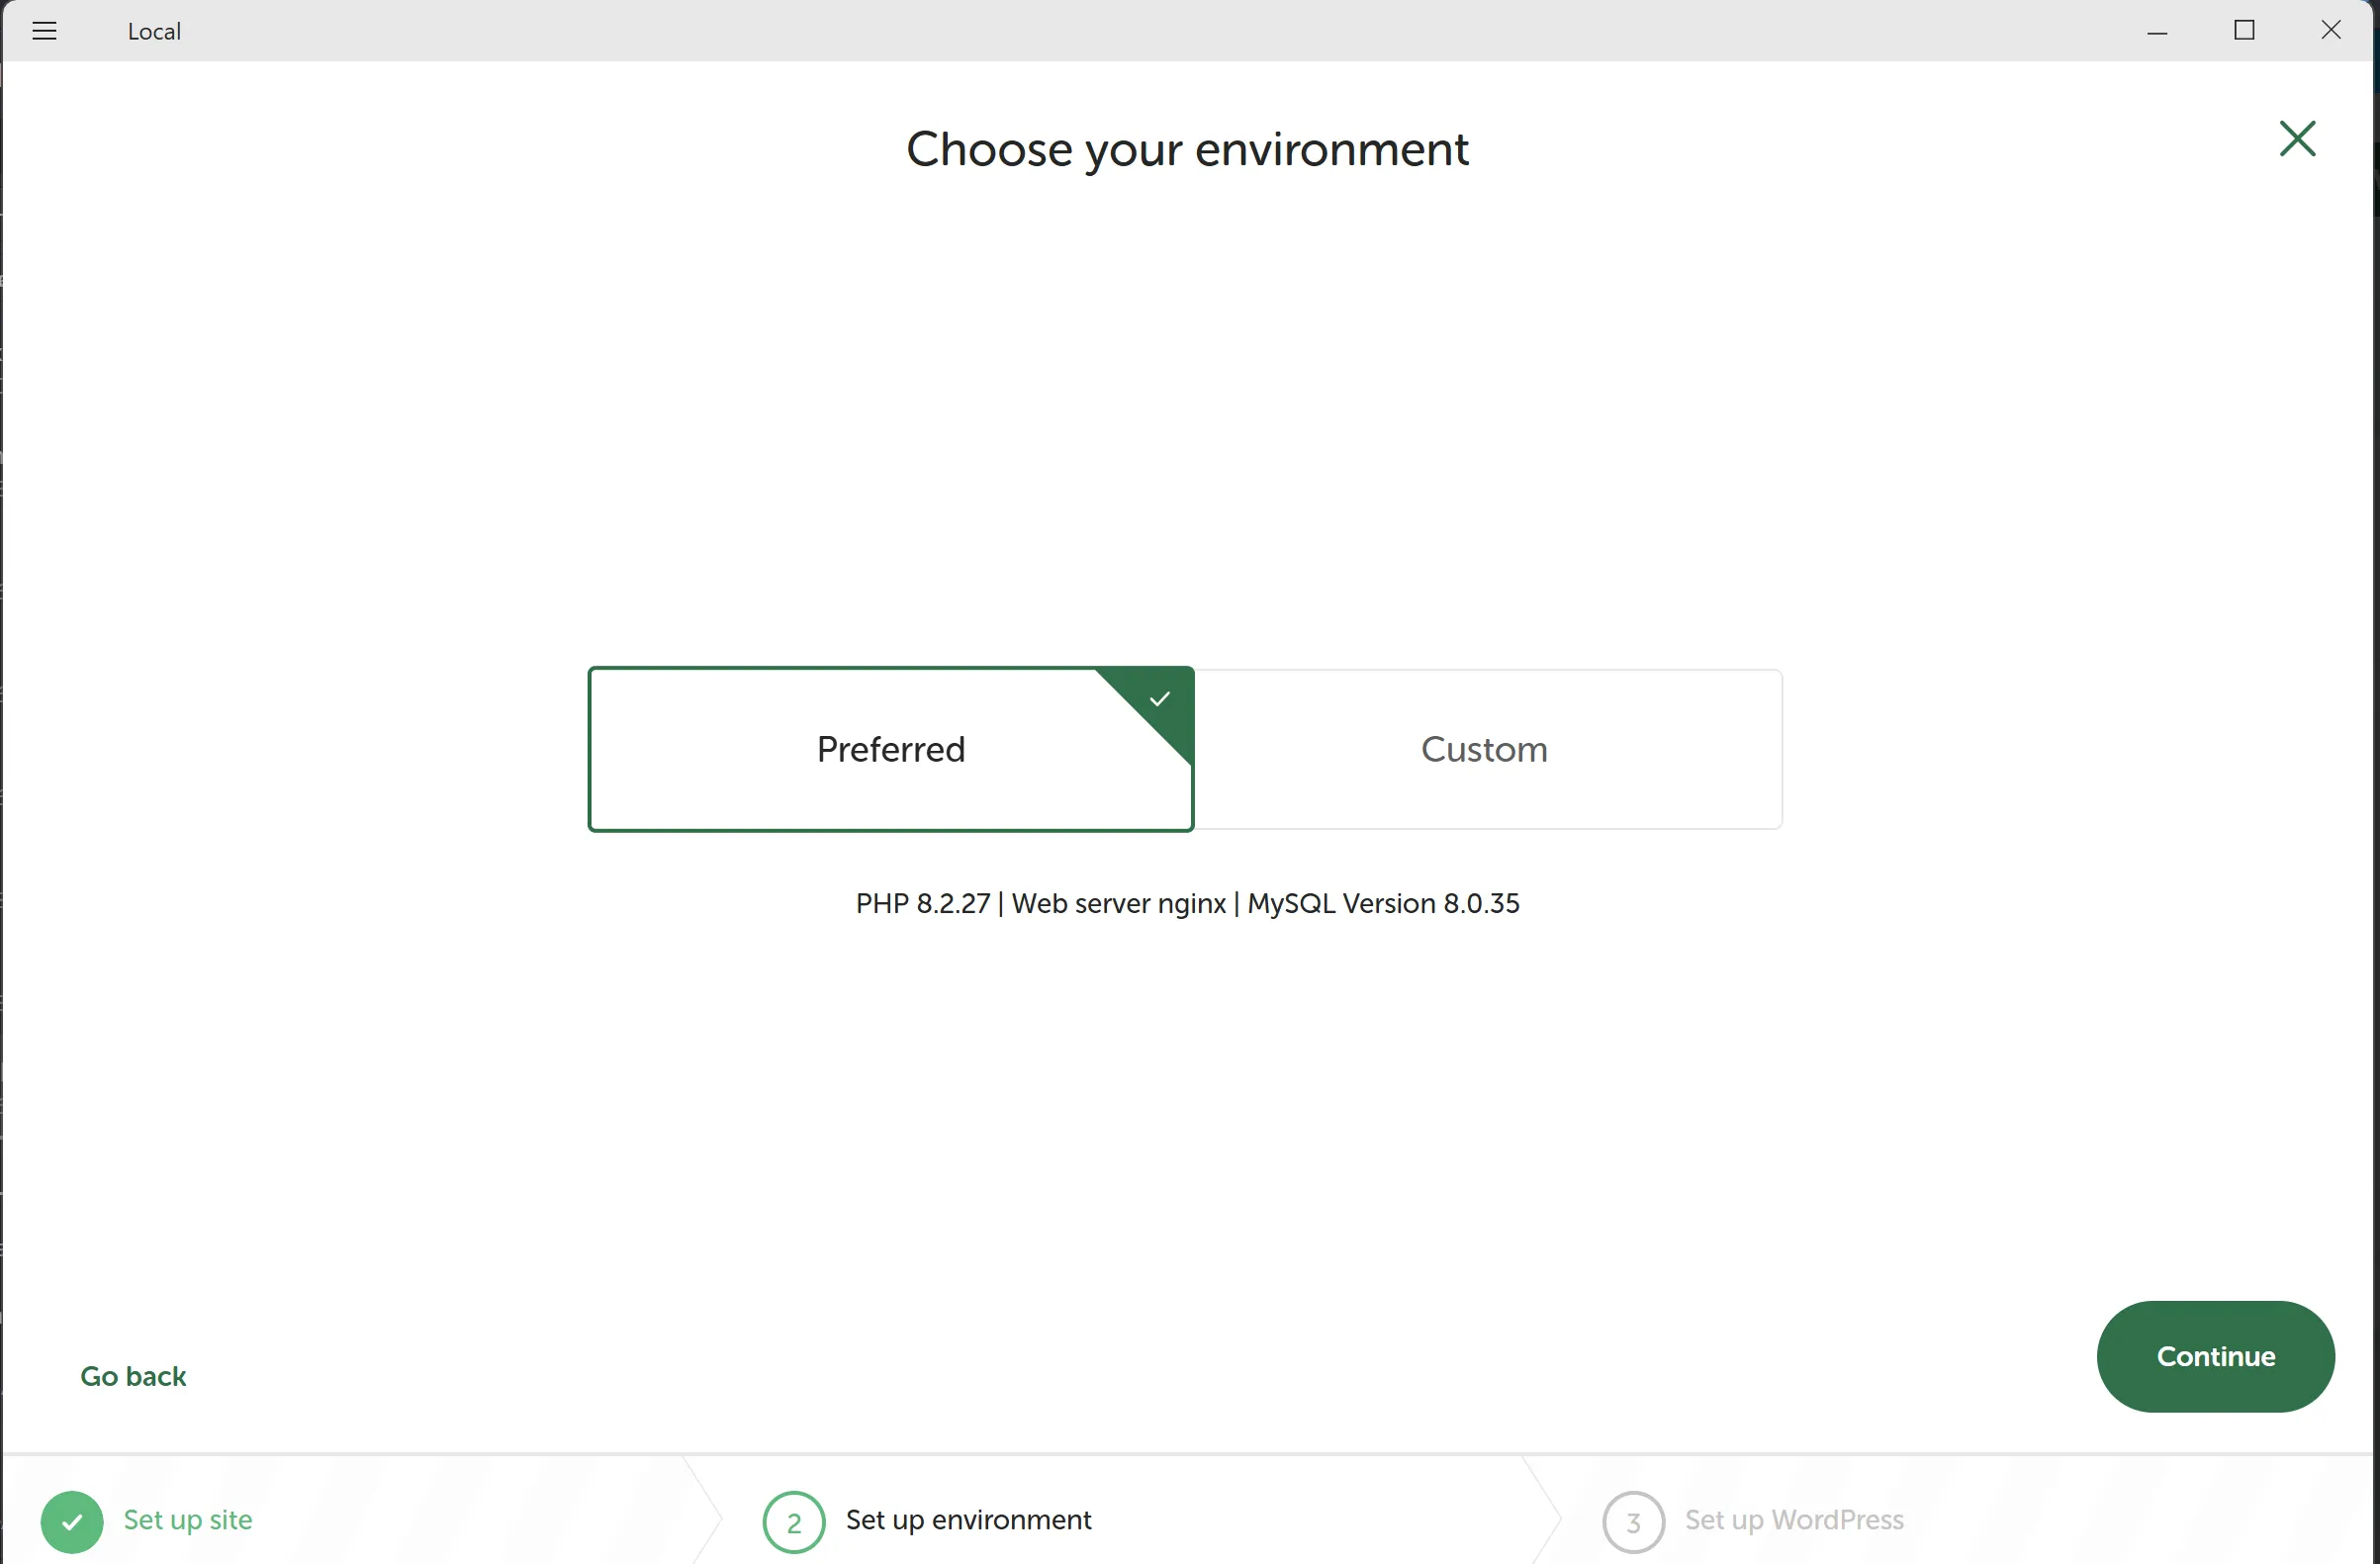
Keep the preferred environment,
And create a username and password for your Wordpress admin. Save this login, as we’ll use it later on to design out website.
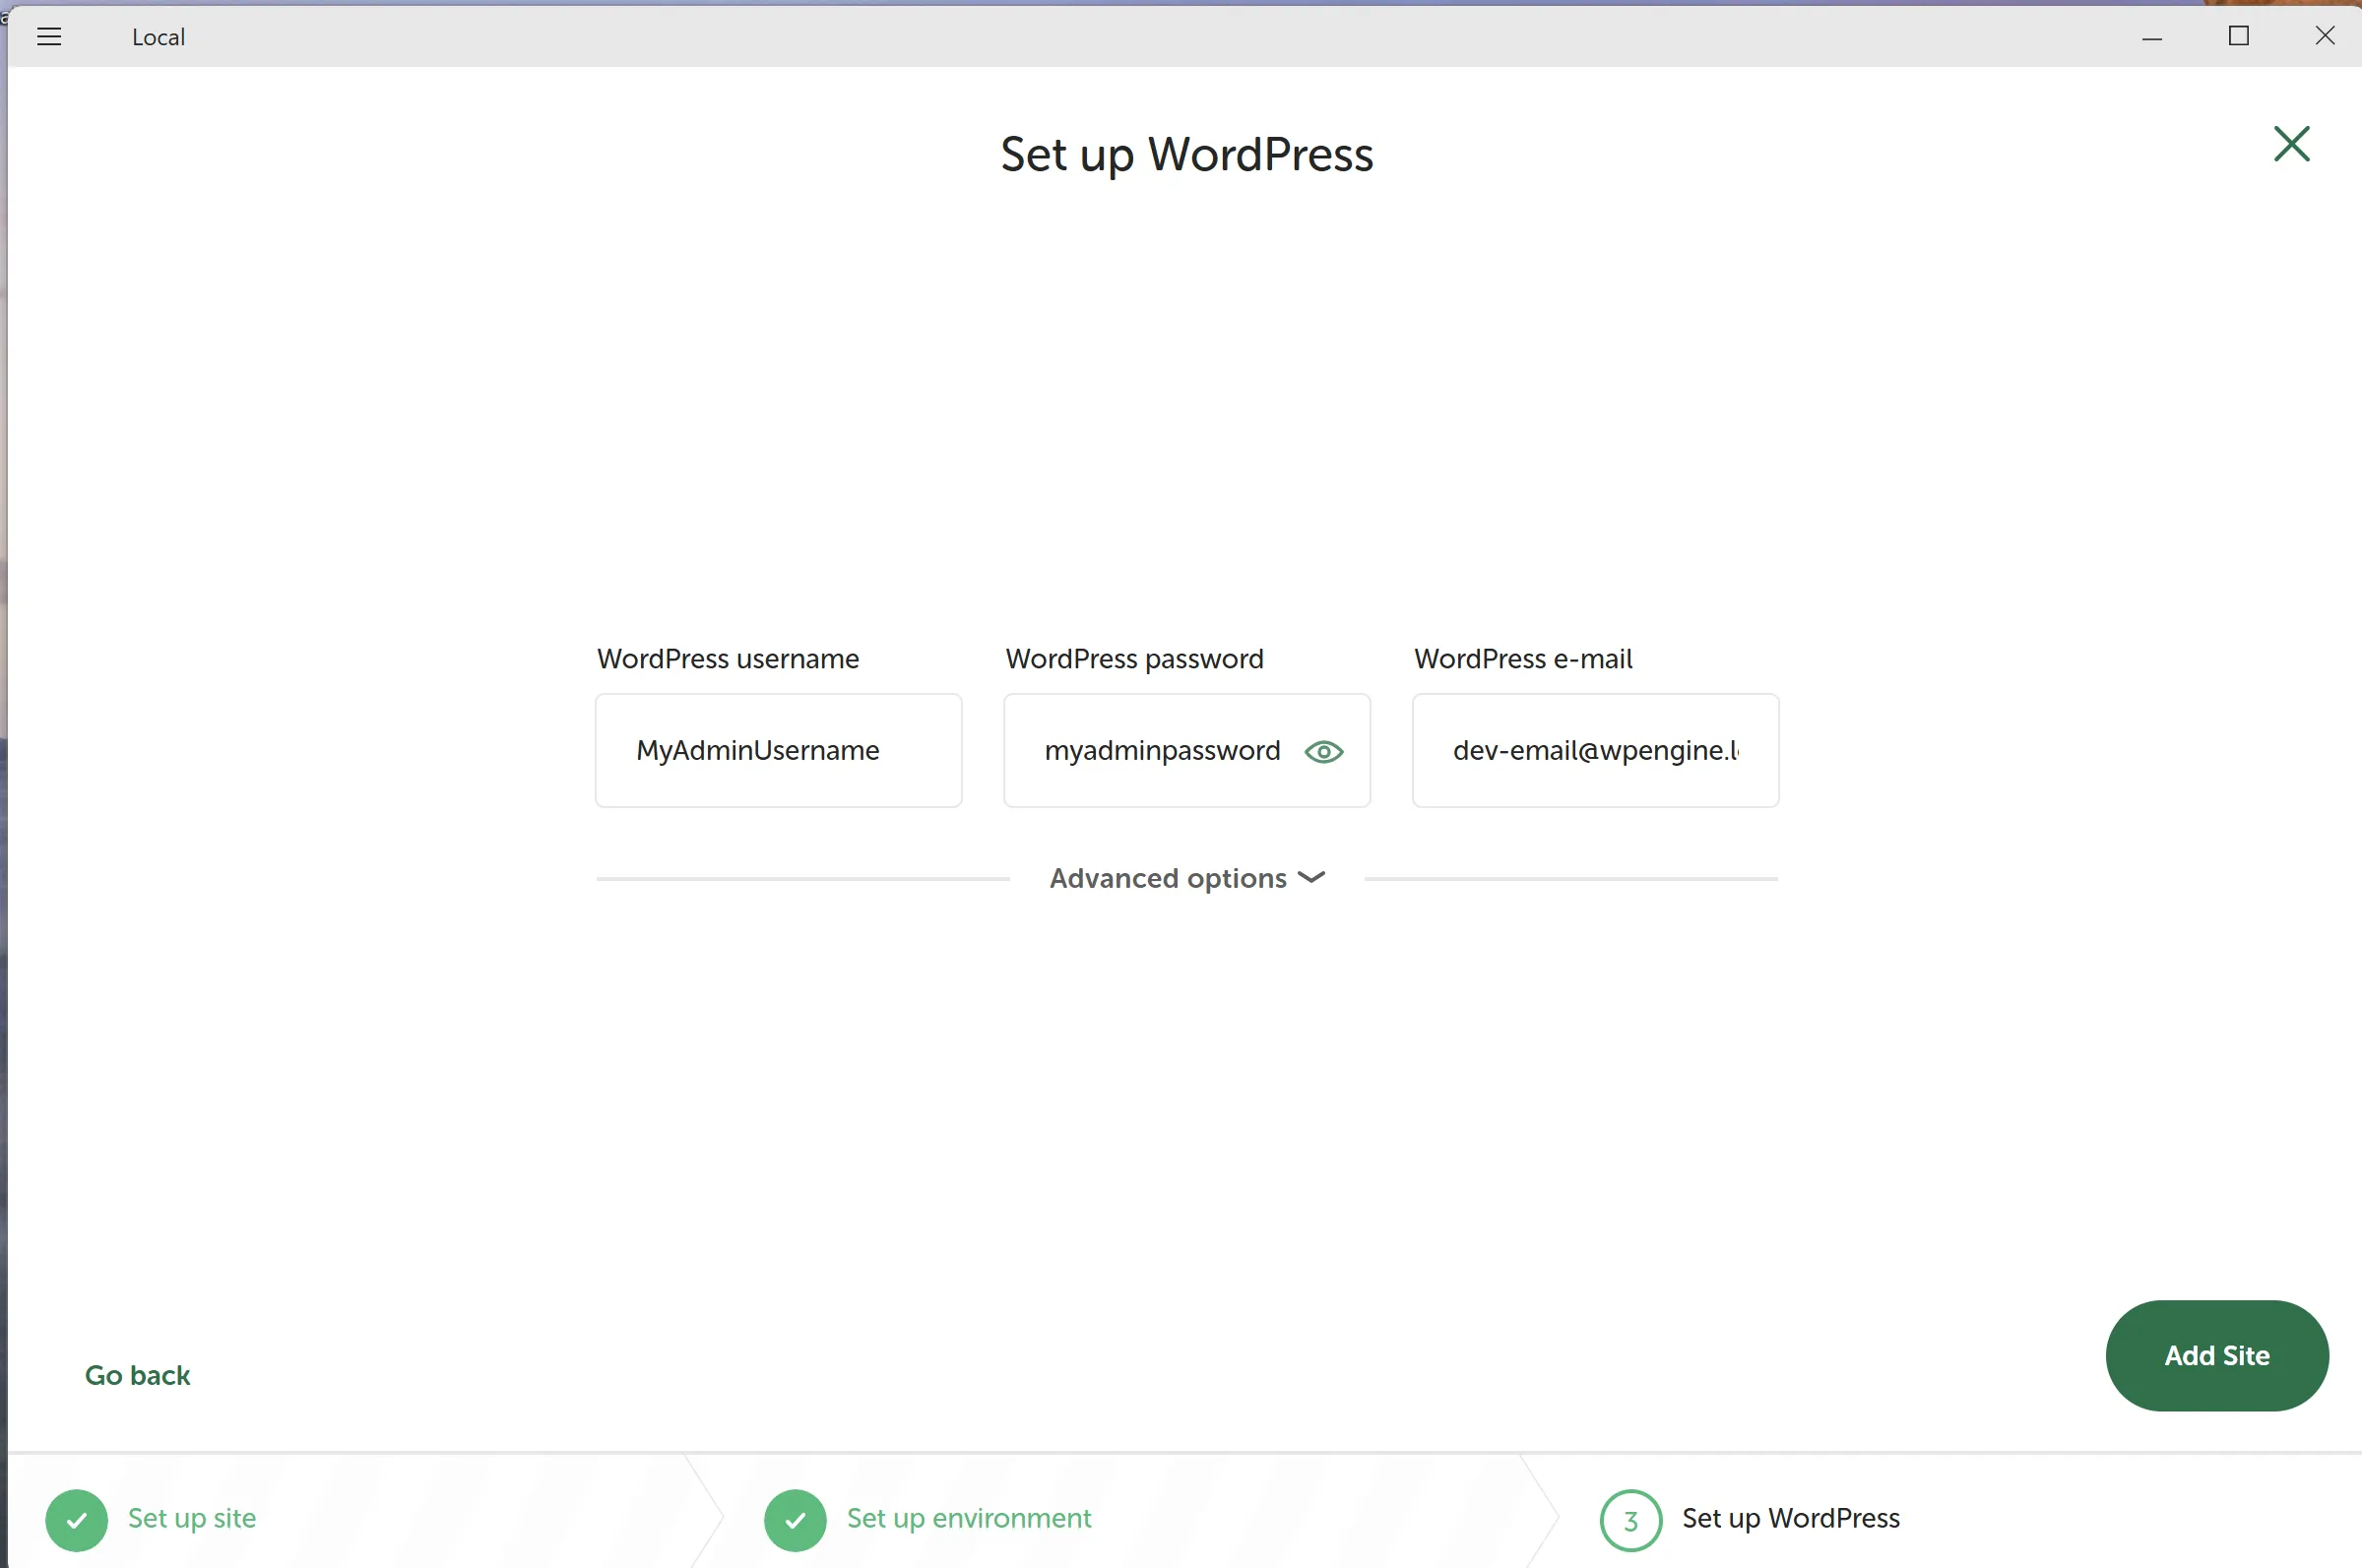
After the setup, Local will install Wordpress, which may require you to select “allow” if you’re on Windows. Once in you’ll be prompted with the Local dashboard, where you can either preview or edit your website.
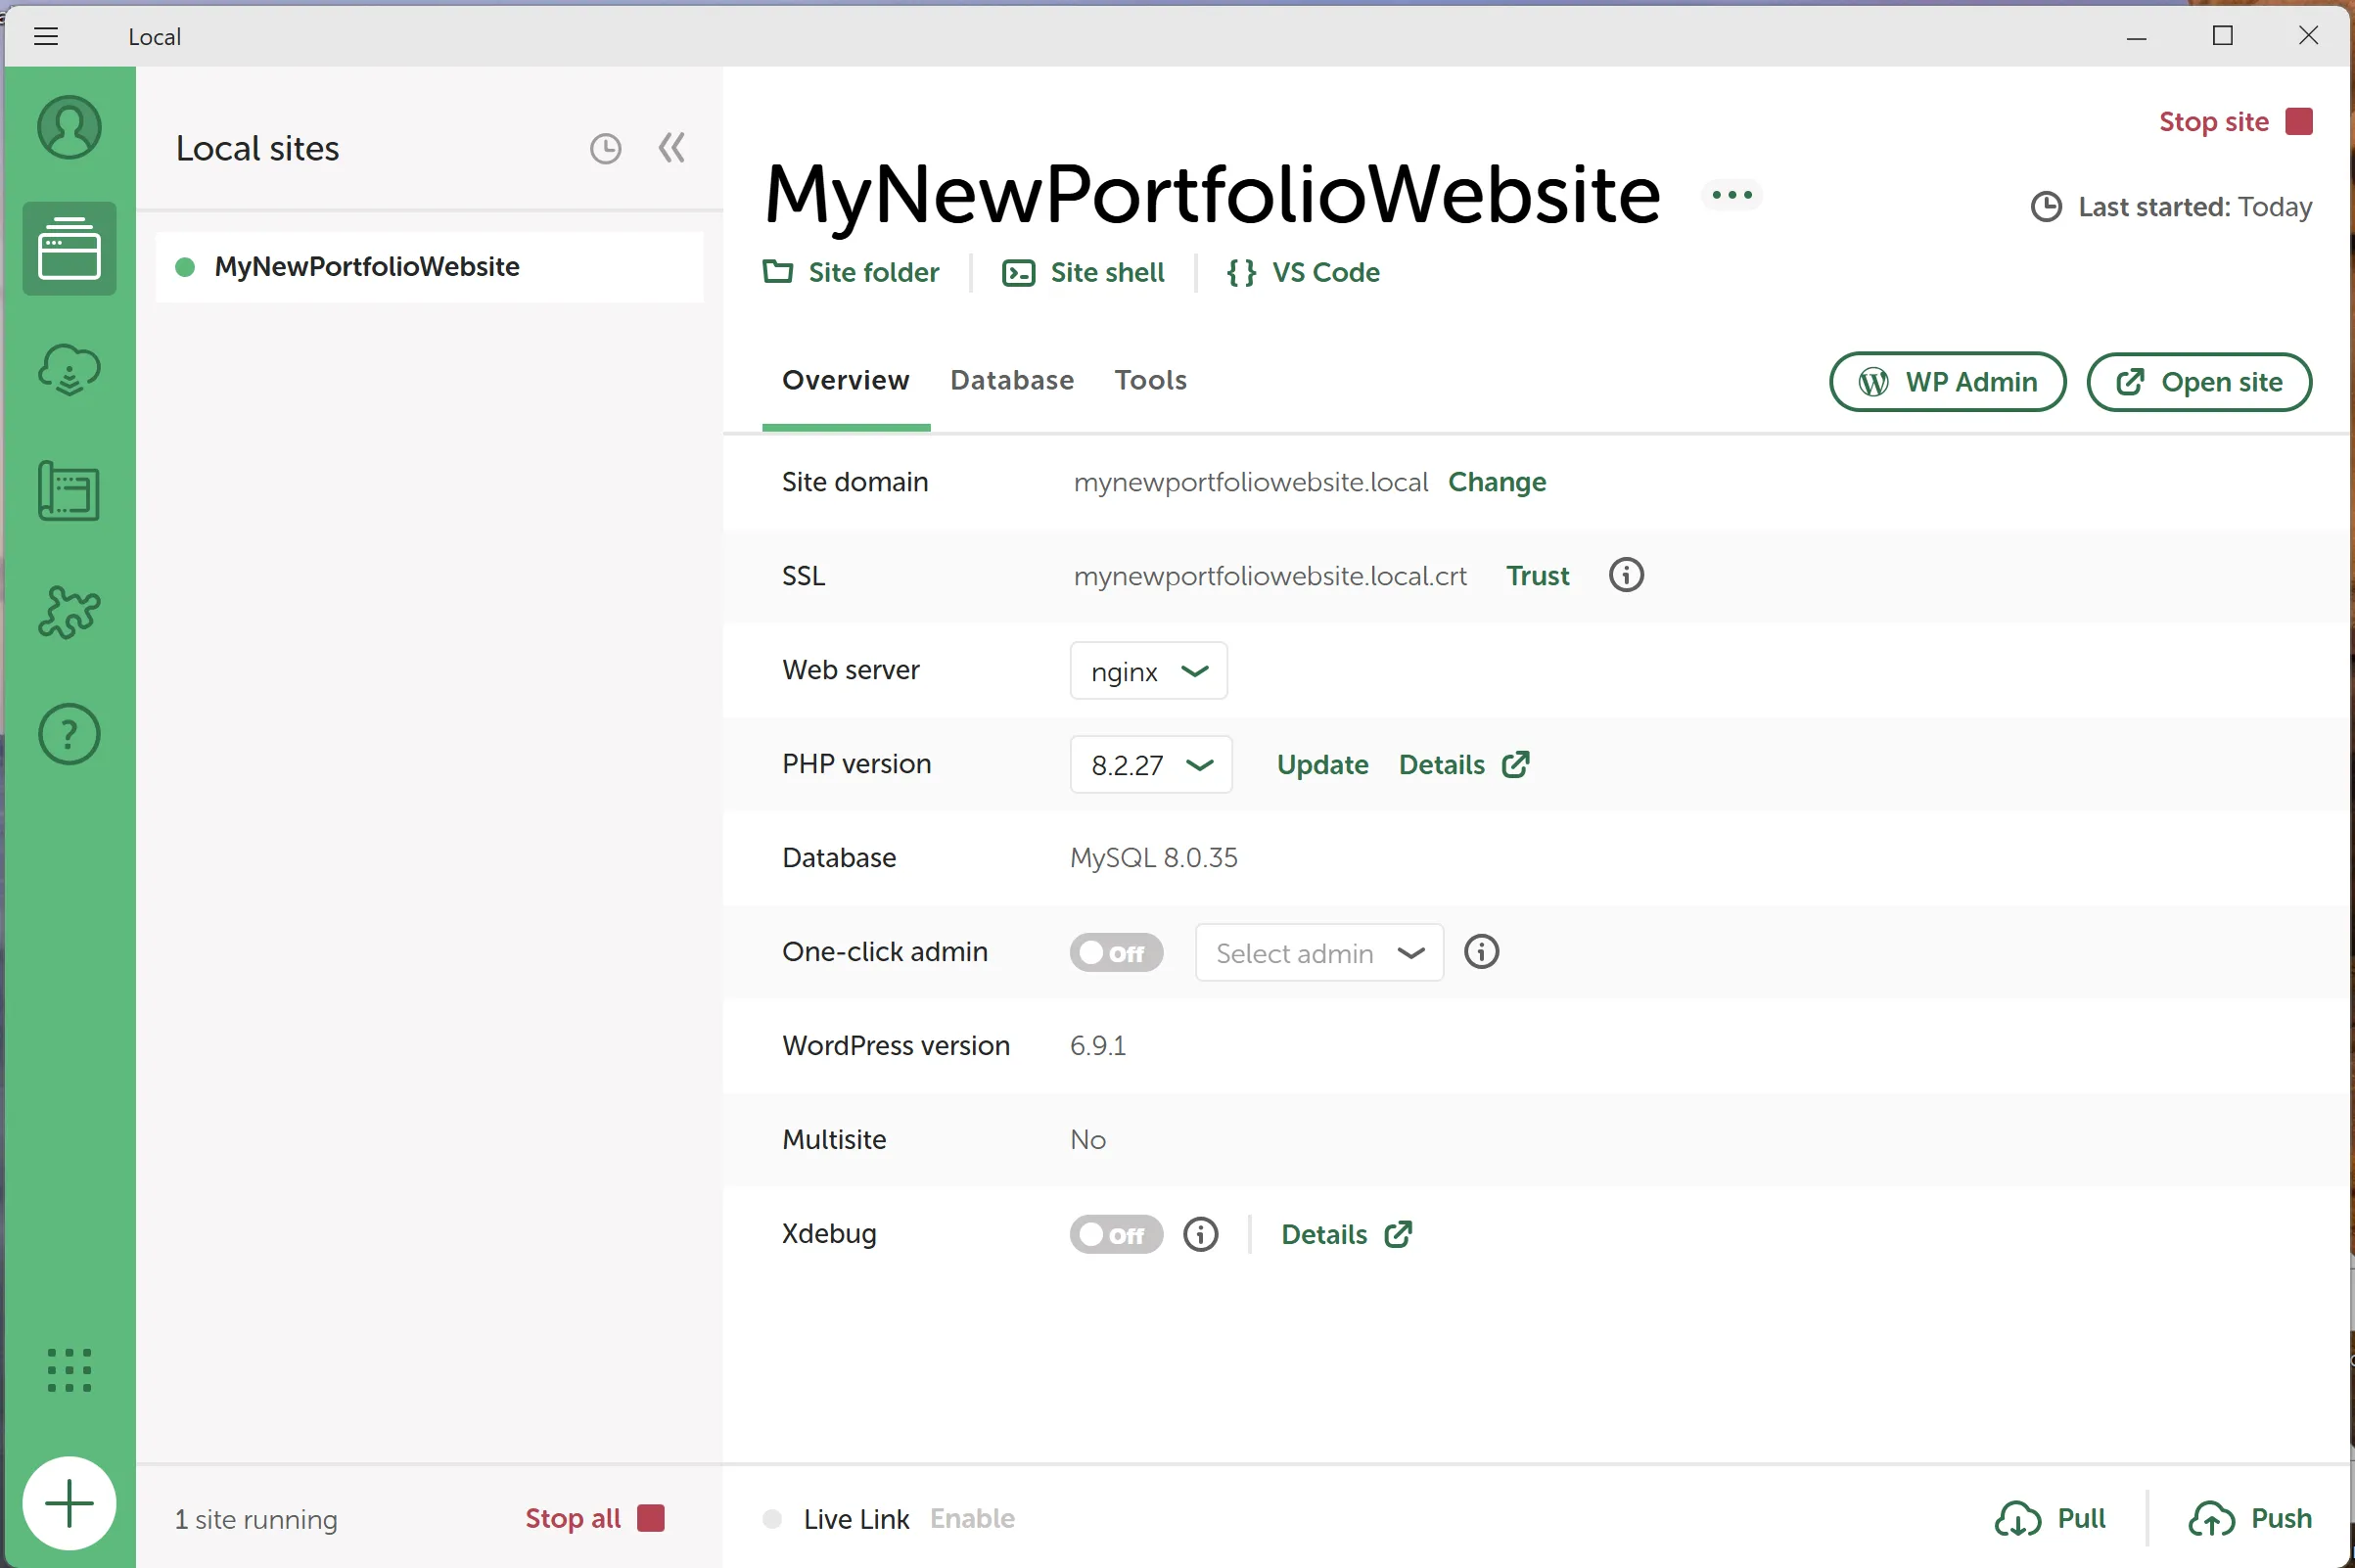
Select WP Admin to start designing your website. You will be prompted to log in. Use the same admin username and password you used before while setting up local.
At this point, you can start designing your website from the Dashboard. Since this is not specifically a Wordpress tutorial, I won’t go over the nitty gritty details of designing a website. From the dashboard, you can start by clicking Open site editor or Edit styles and play around with your site. There are also tons of YouTube tutorials, documentation, and articles that can help with this part.
Once in the dashboard, we’ll need to install the Simply Static plugin. In the navigation on the left side, open Plugins and click “Add plugins”
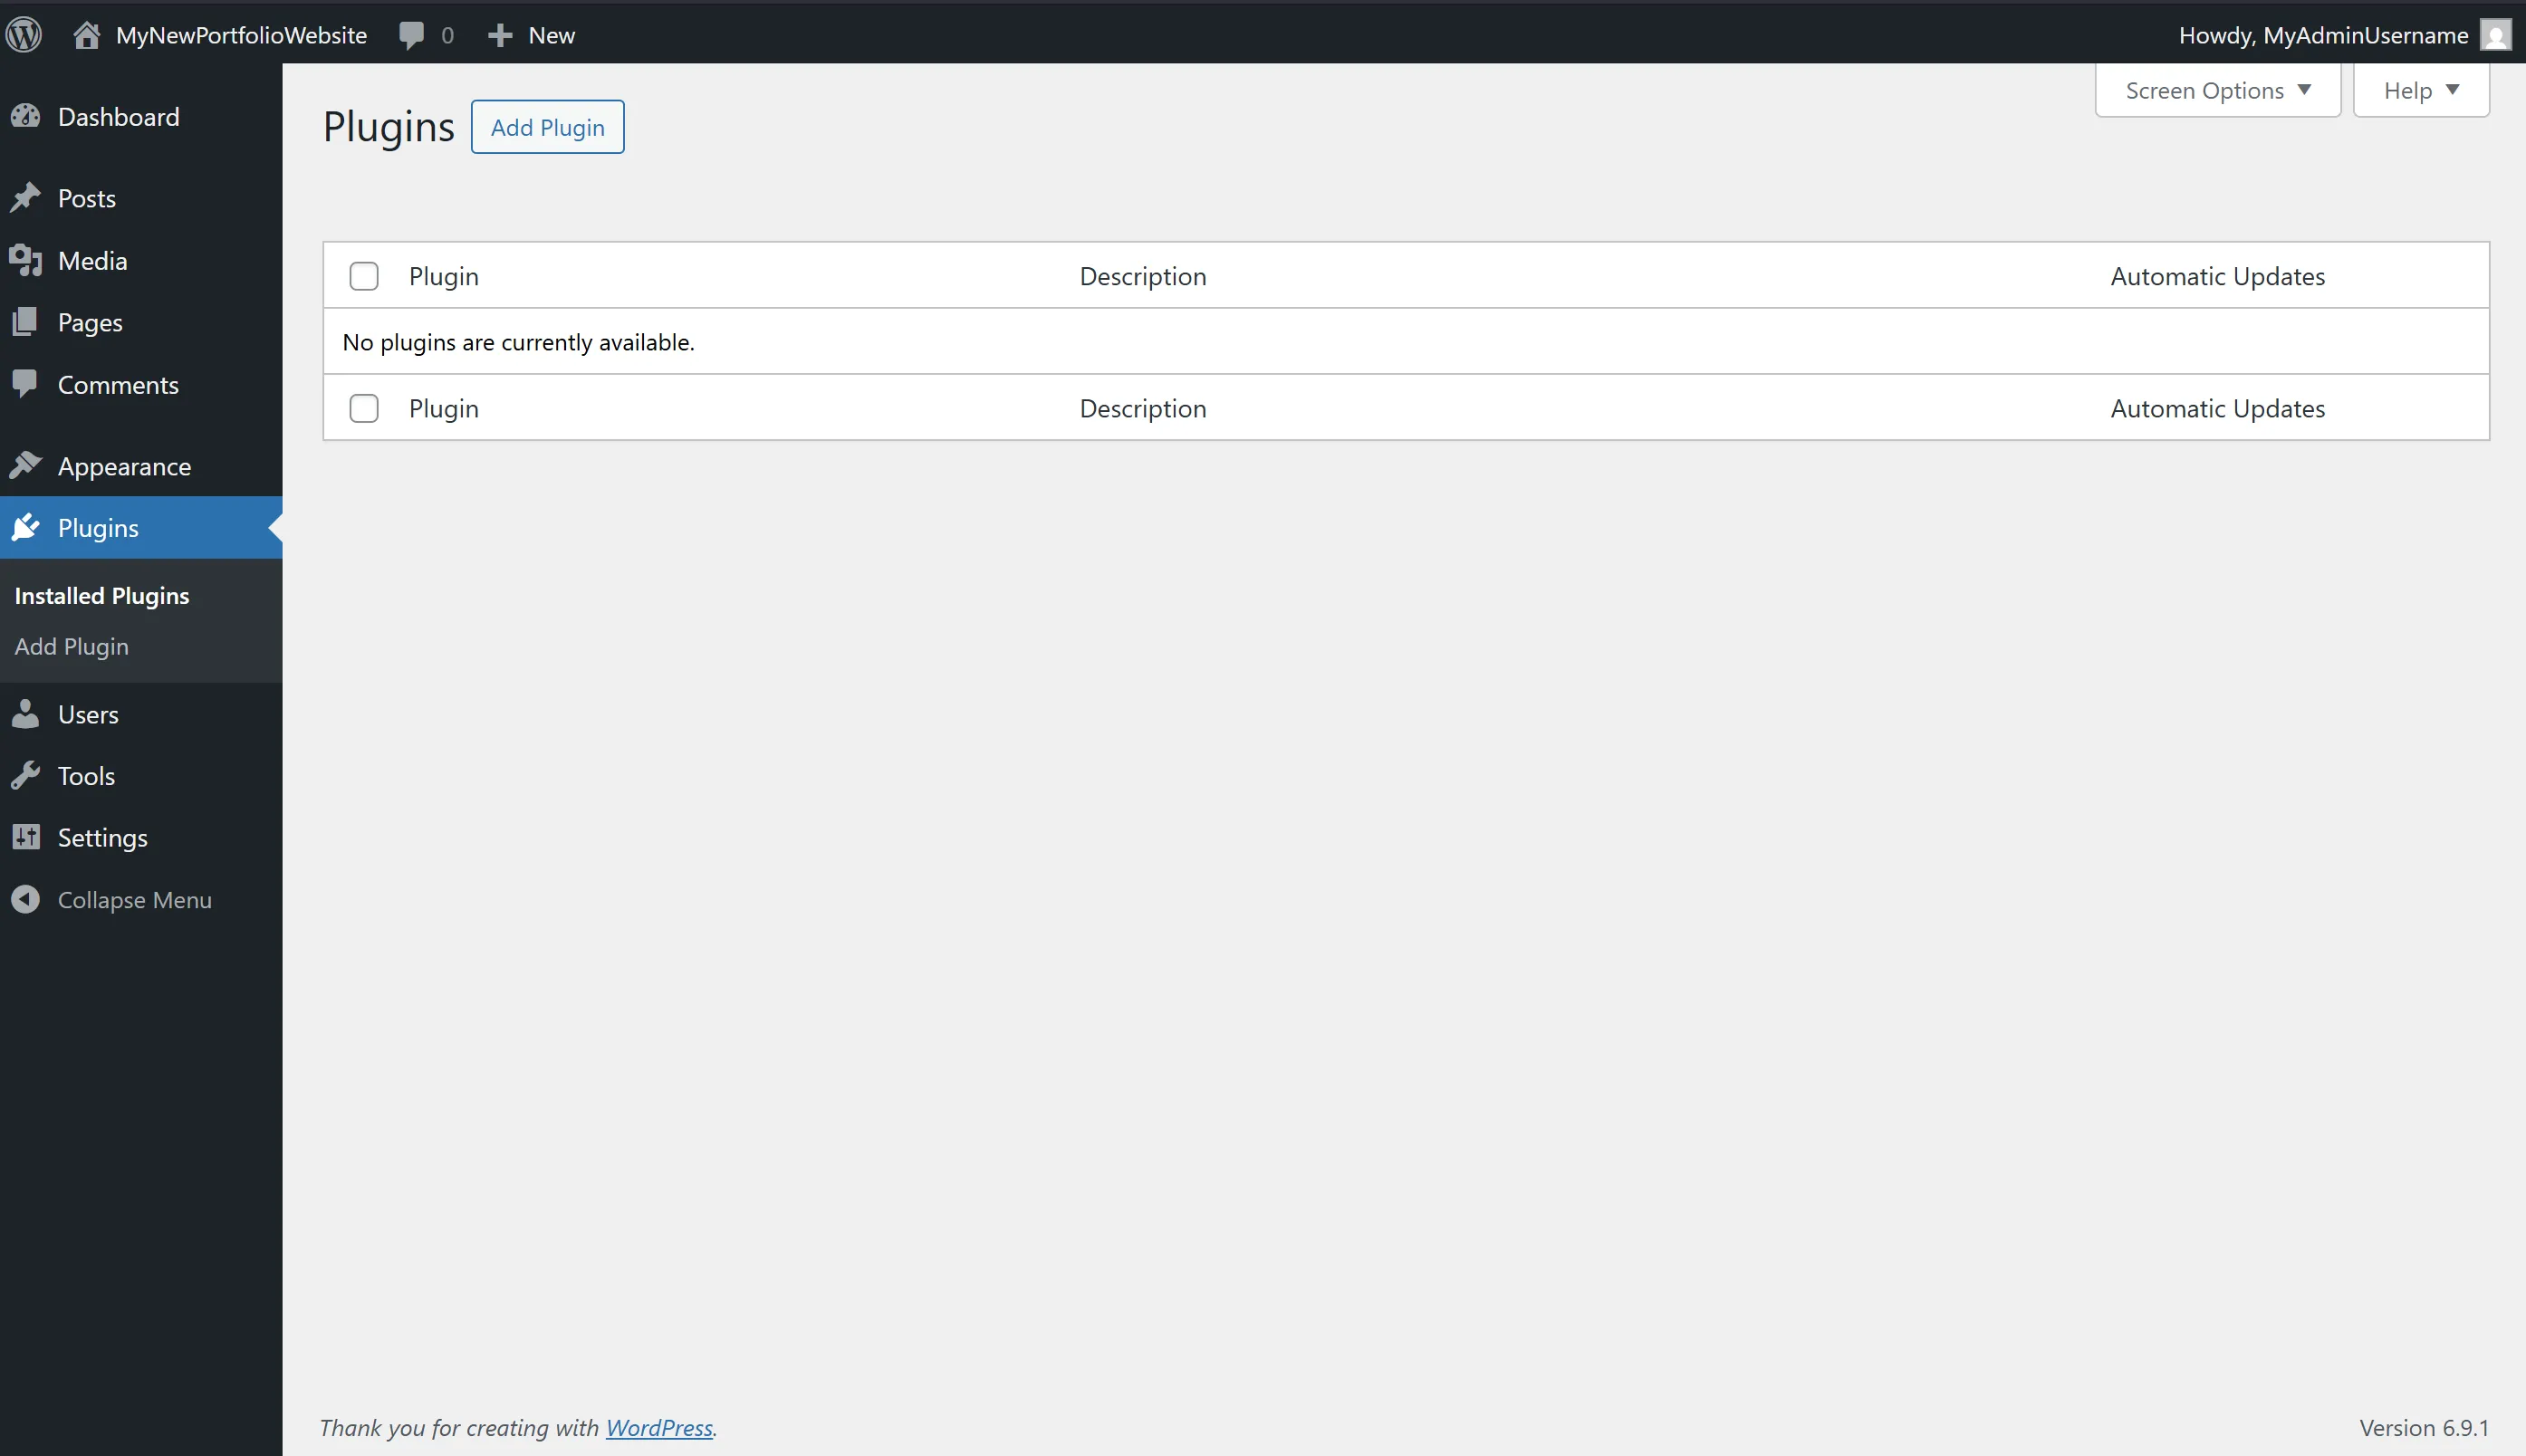
Search for Simply Static, and install the Simply Static - The Static Site Generator plugin.
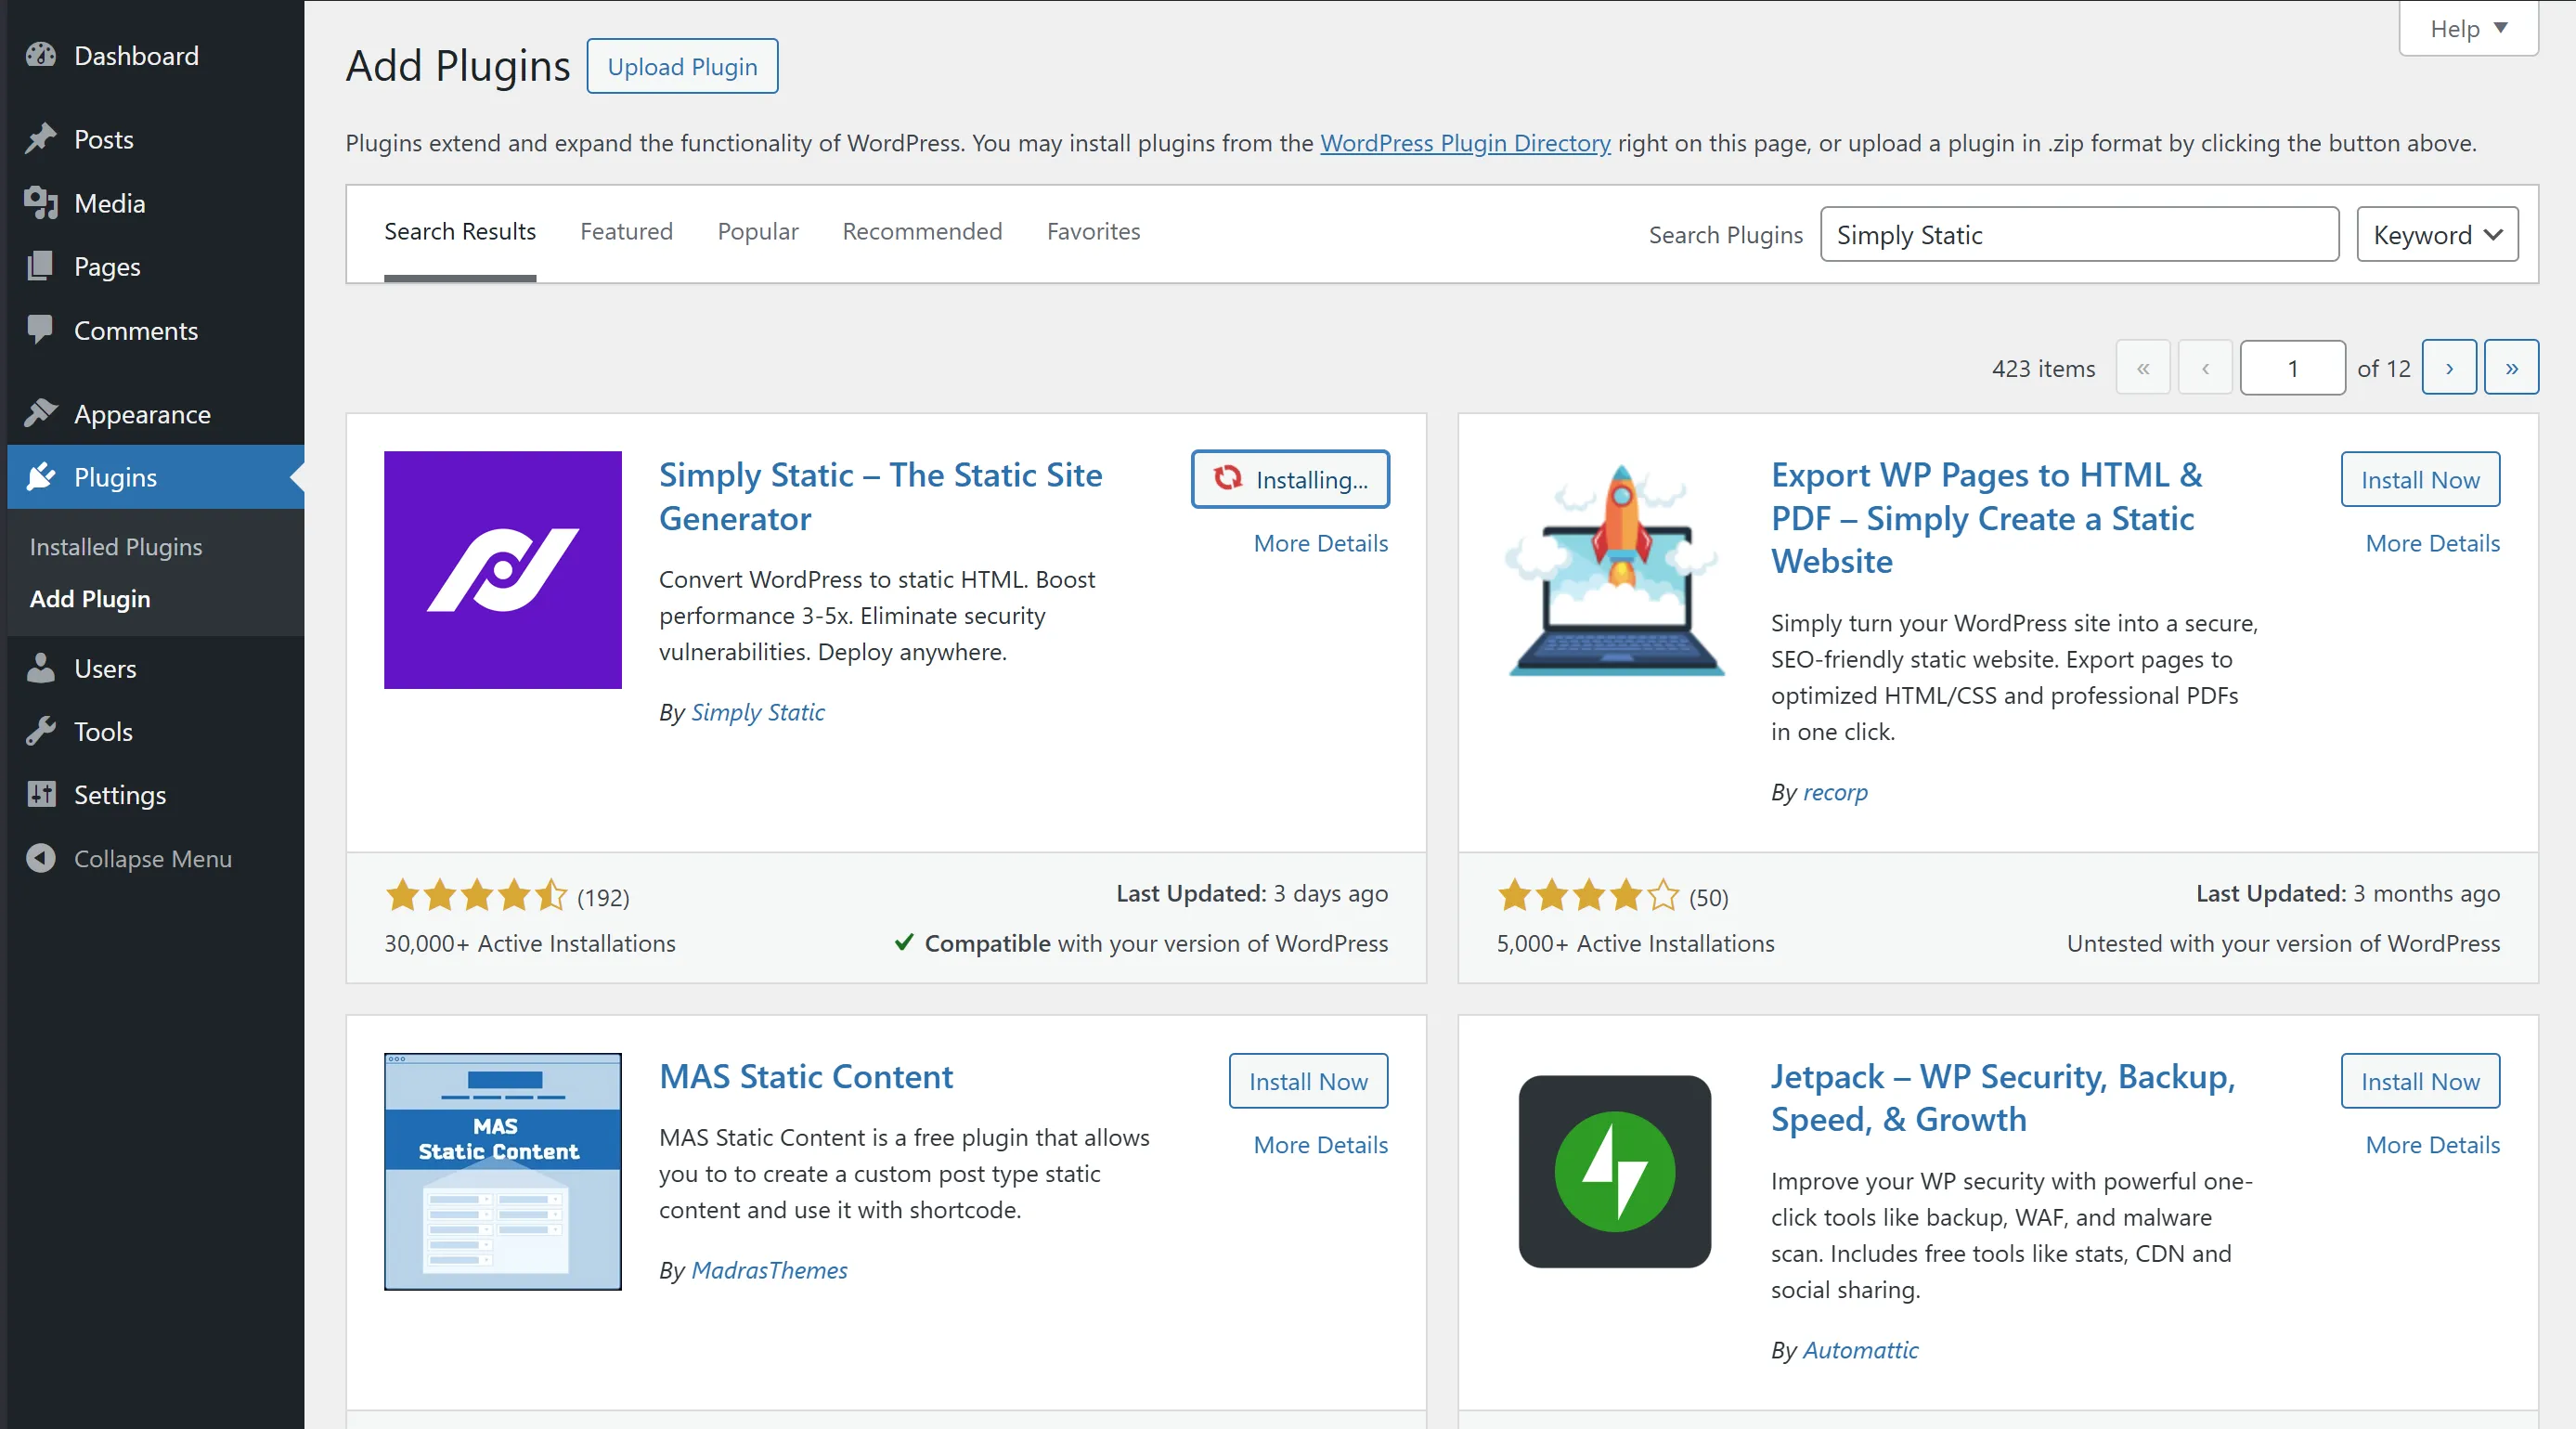
Once installed, you’ll be redirected to the plugins page where you need to activate Simply Static:
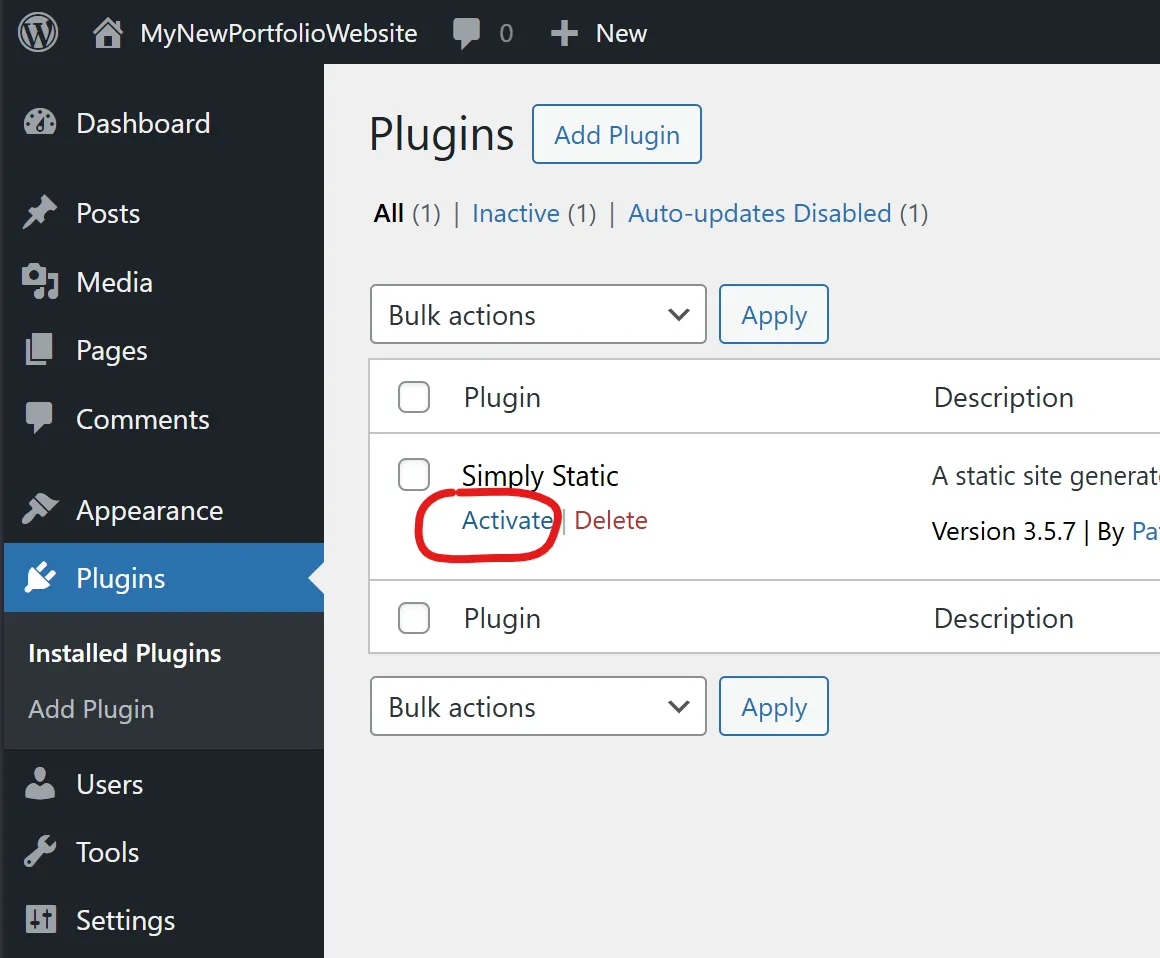
You will gain a Simply Static tab in your navigation towards the bottom. From here, go to “Deploy” and change Zip Archive to Local Directory. Make note of the PATH shown, or specify a path yourself. We’ll be using this path to deploy our project in the next steps. Make sure to save settings before continuing.

Wait to click generate until after the next step. GitHub Desktop won’t let you create a repository in a file with stuff in it, so we’ll wait to generate. Later on, you can click “Generate” to generate your website to your file path under “Deploy.” Again, make note of this path as we’ll use it later. This process usually takes a couple minutes (I’ve had it run for usually 5 or 6 minutes). In the Activity Log tab, the terminal-like output will say Done.
Note: Sometimes Simply Static has trouble writing to a folder that hasn’t been created, so make sure there is a folder at the path that you specify in Deploy. If not, create one.
Publishing our website using GitHub
Once we have our website created and exported, we need to publish the code we exported for Cloudflare to see and deploy. We will use GitHub to share our code with Cloudflare. Download GitHub Desktop at:
Sign in or create a GitHub account, then Authorize connecting to GitHub Desktop
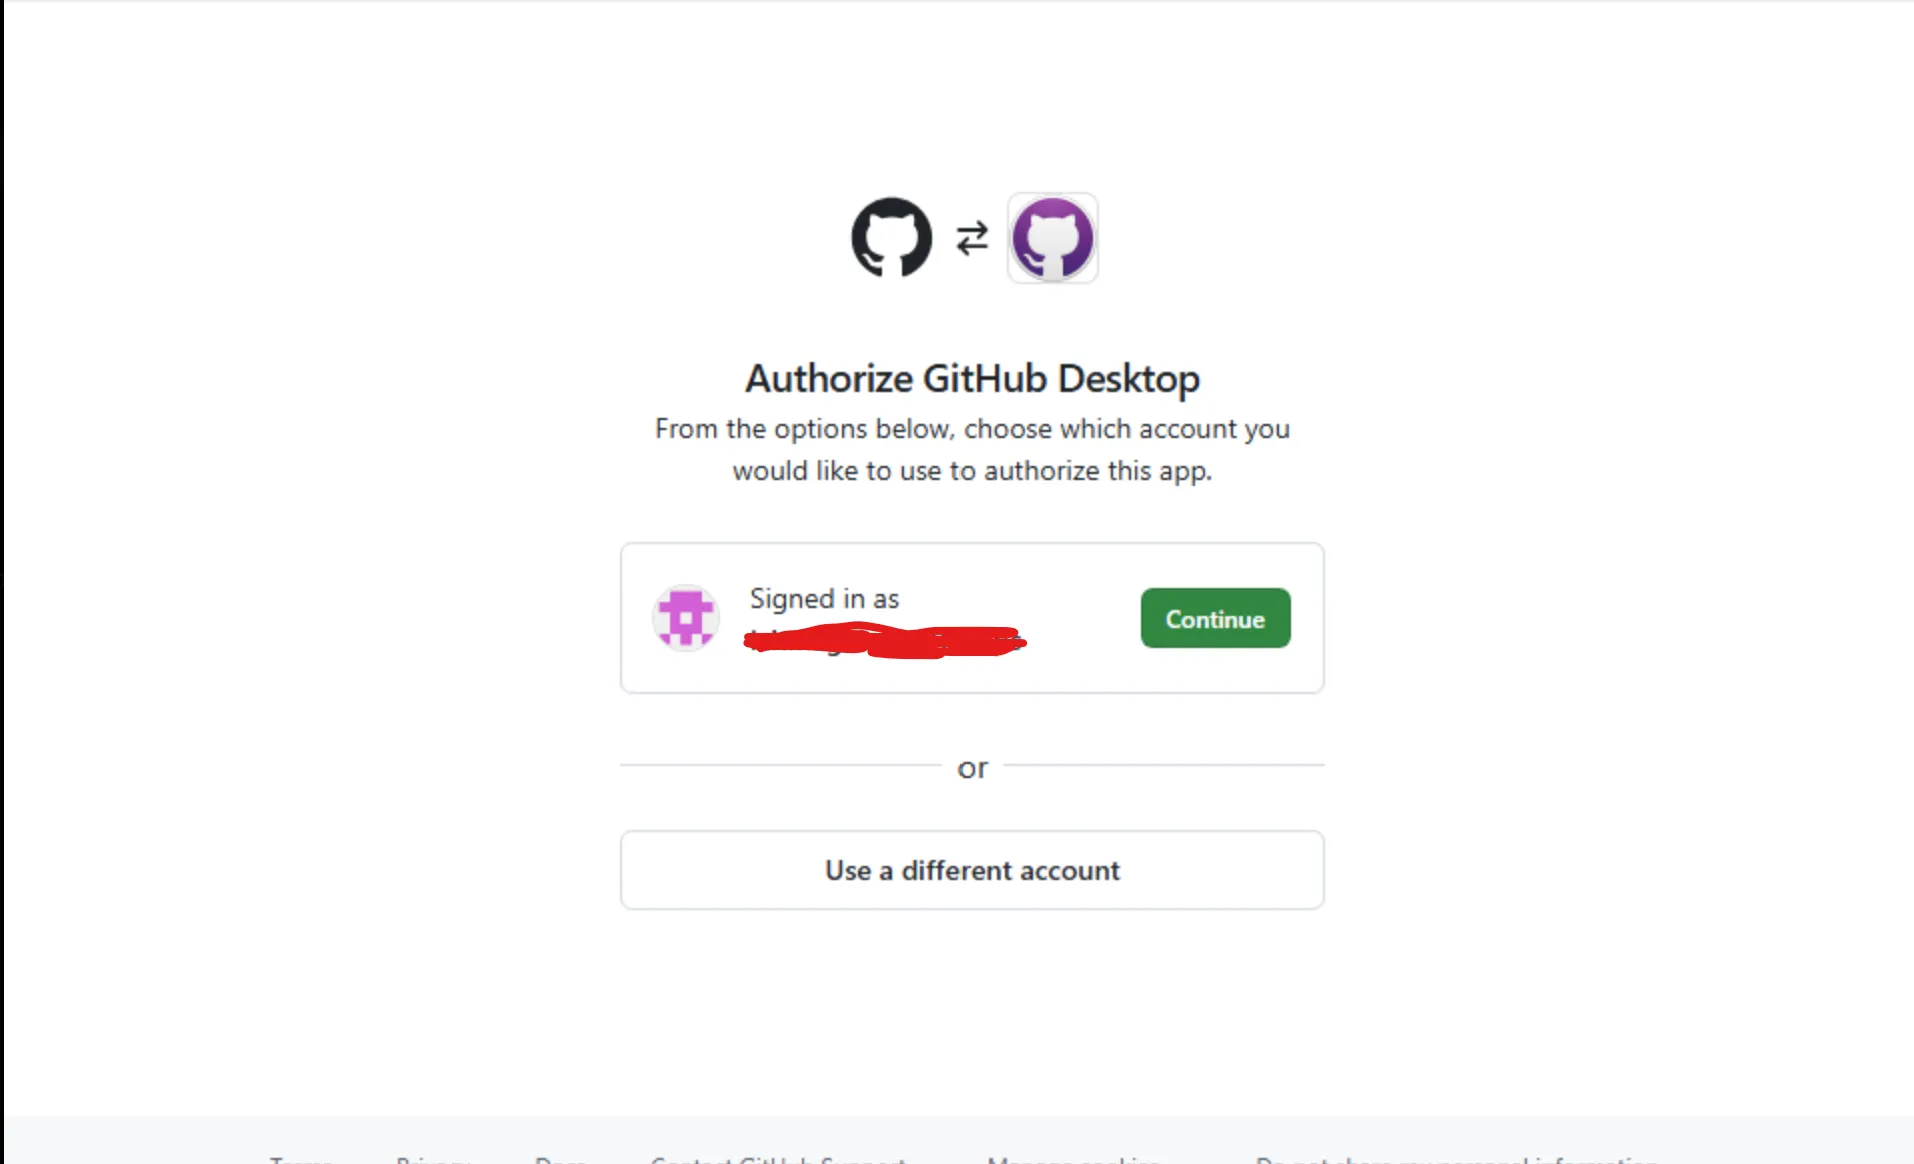
Back in GitHub Desktop, click Finish.
Next, create a new repository by clicking “Create a New Repository on your local drive …”, this is where the files for your website will be stored. Name the repository, get the Local path to make sure it
IMPORTANT: This step can make or break deploying your website. Make sure the Path of the repository on your local drive is the SAME as the path under Deploy in the Simply Static plugin in Local, otherwise your website will not be able to be deployed.
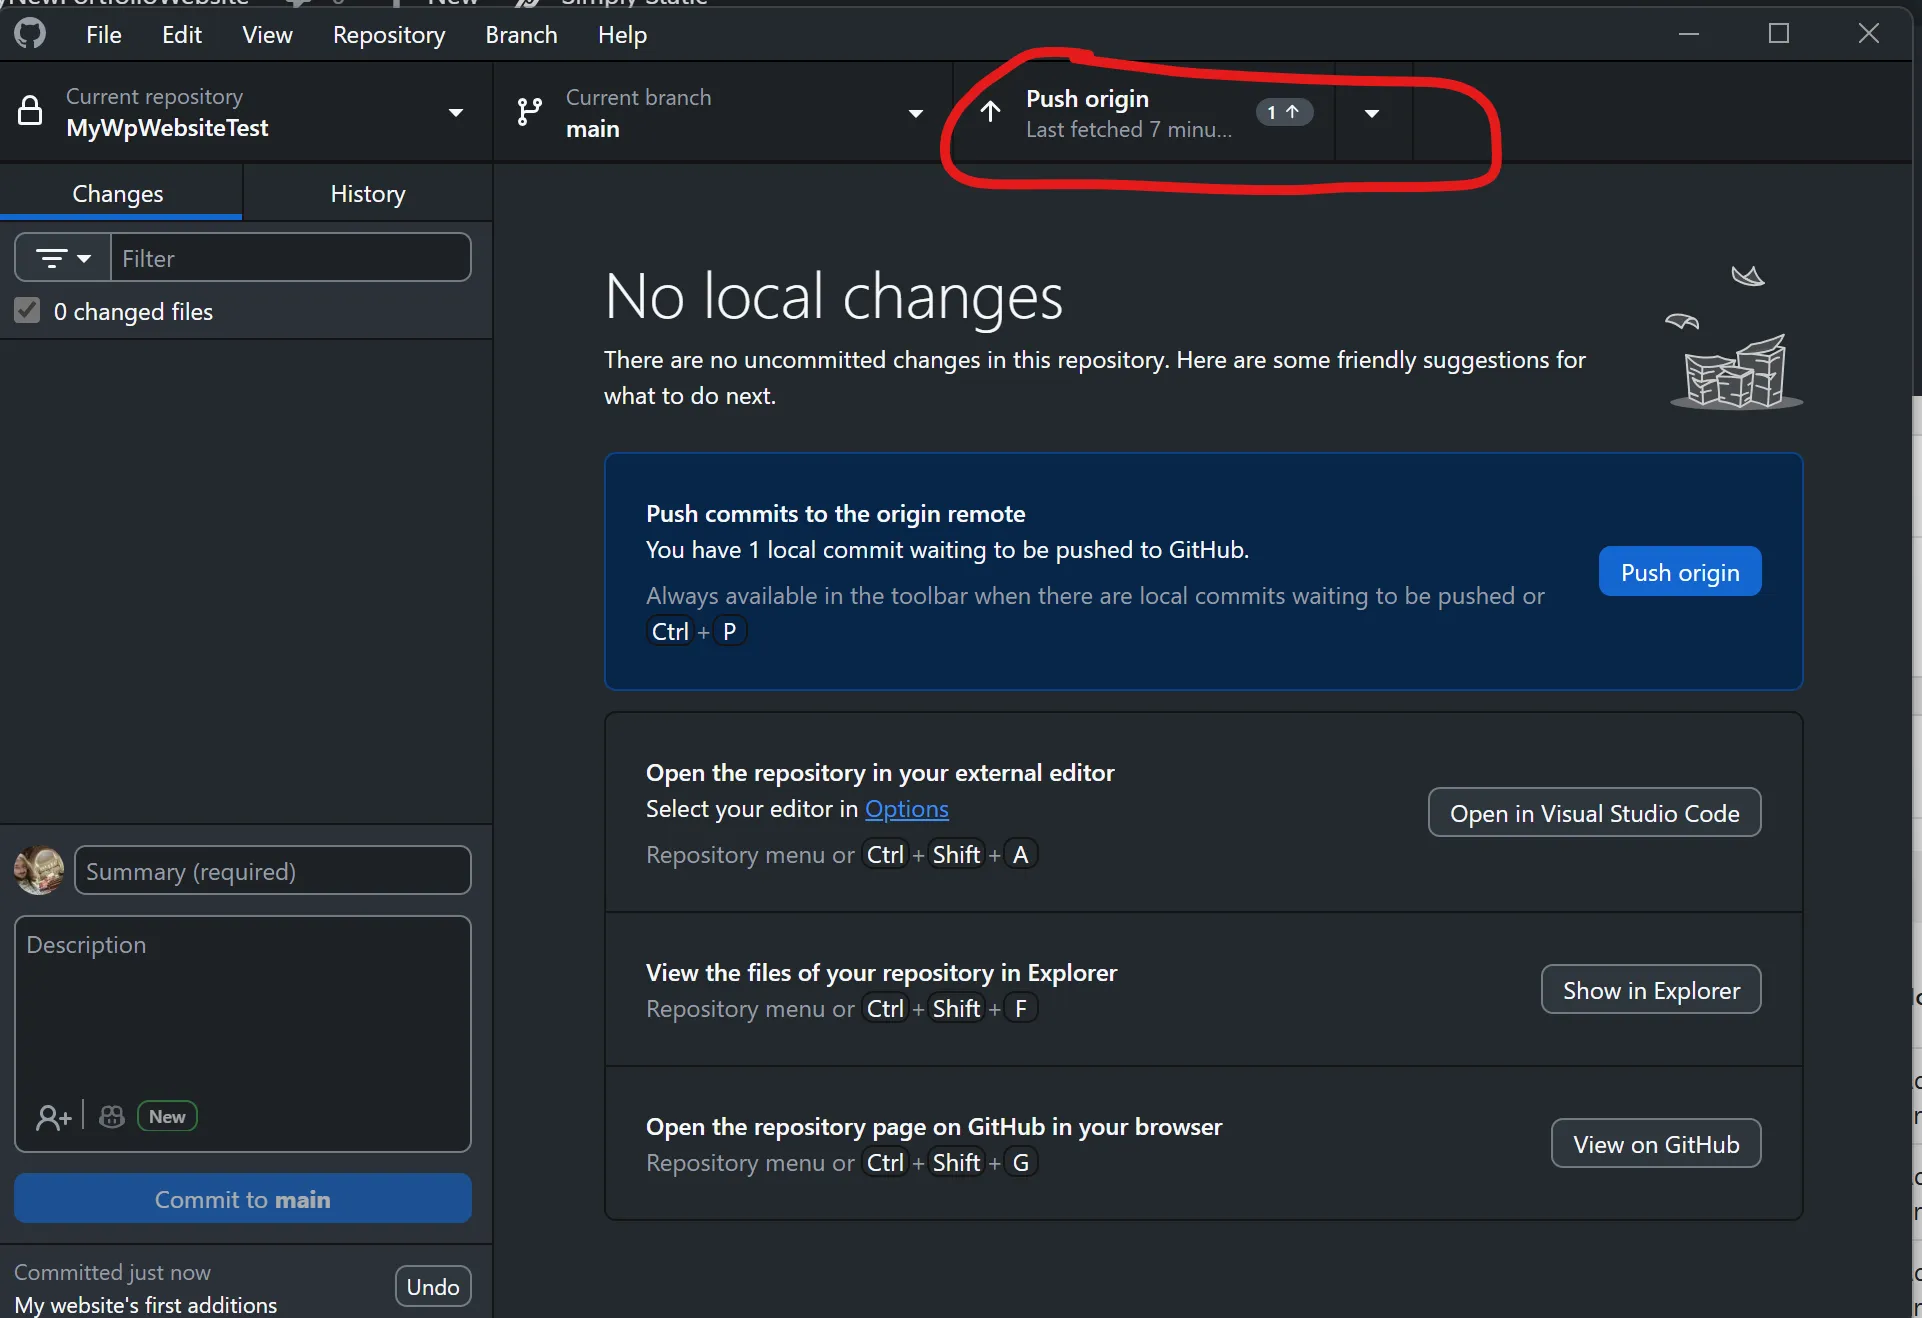
In GitHub Desktop, you can now publish your repository.
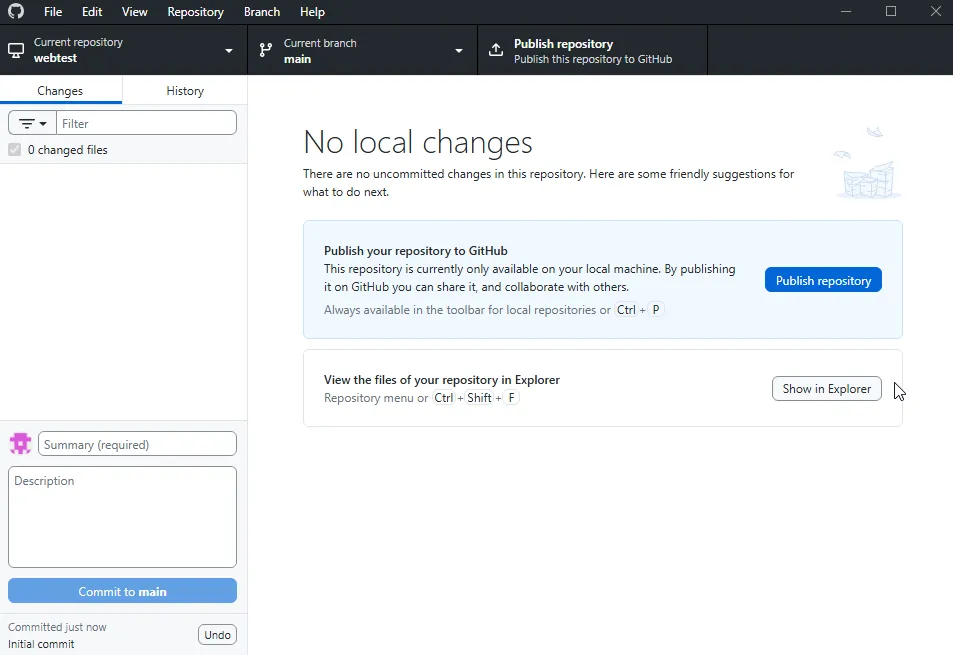
As you make changes to your website in Local and generate your website with Simply Static, the changes will appear here. Once you have made and generated changes, add a summary of updates and “Commit to main” (your website). The first time you do this, it may take a moment.
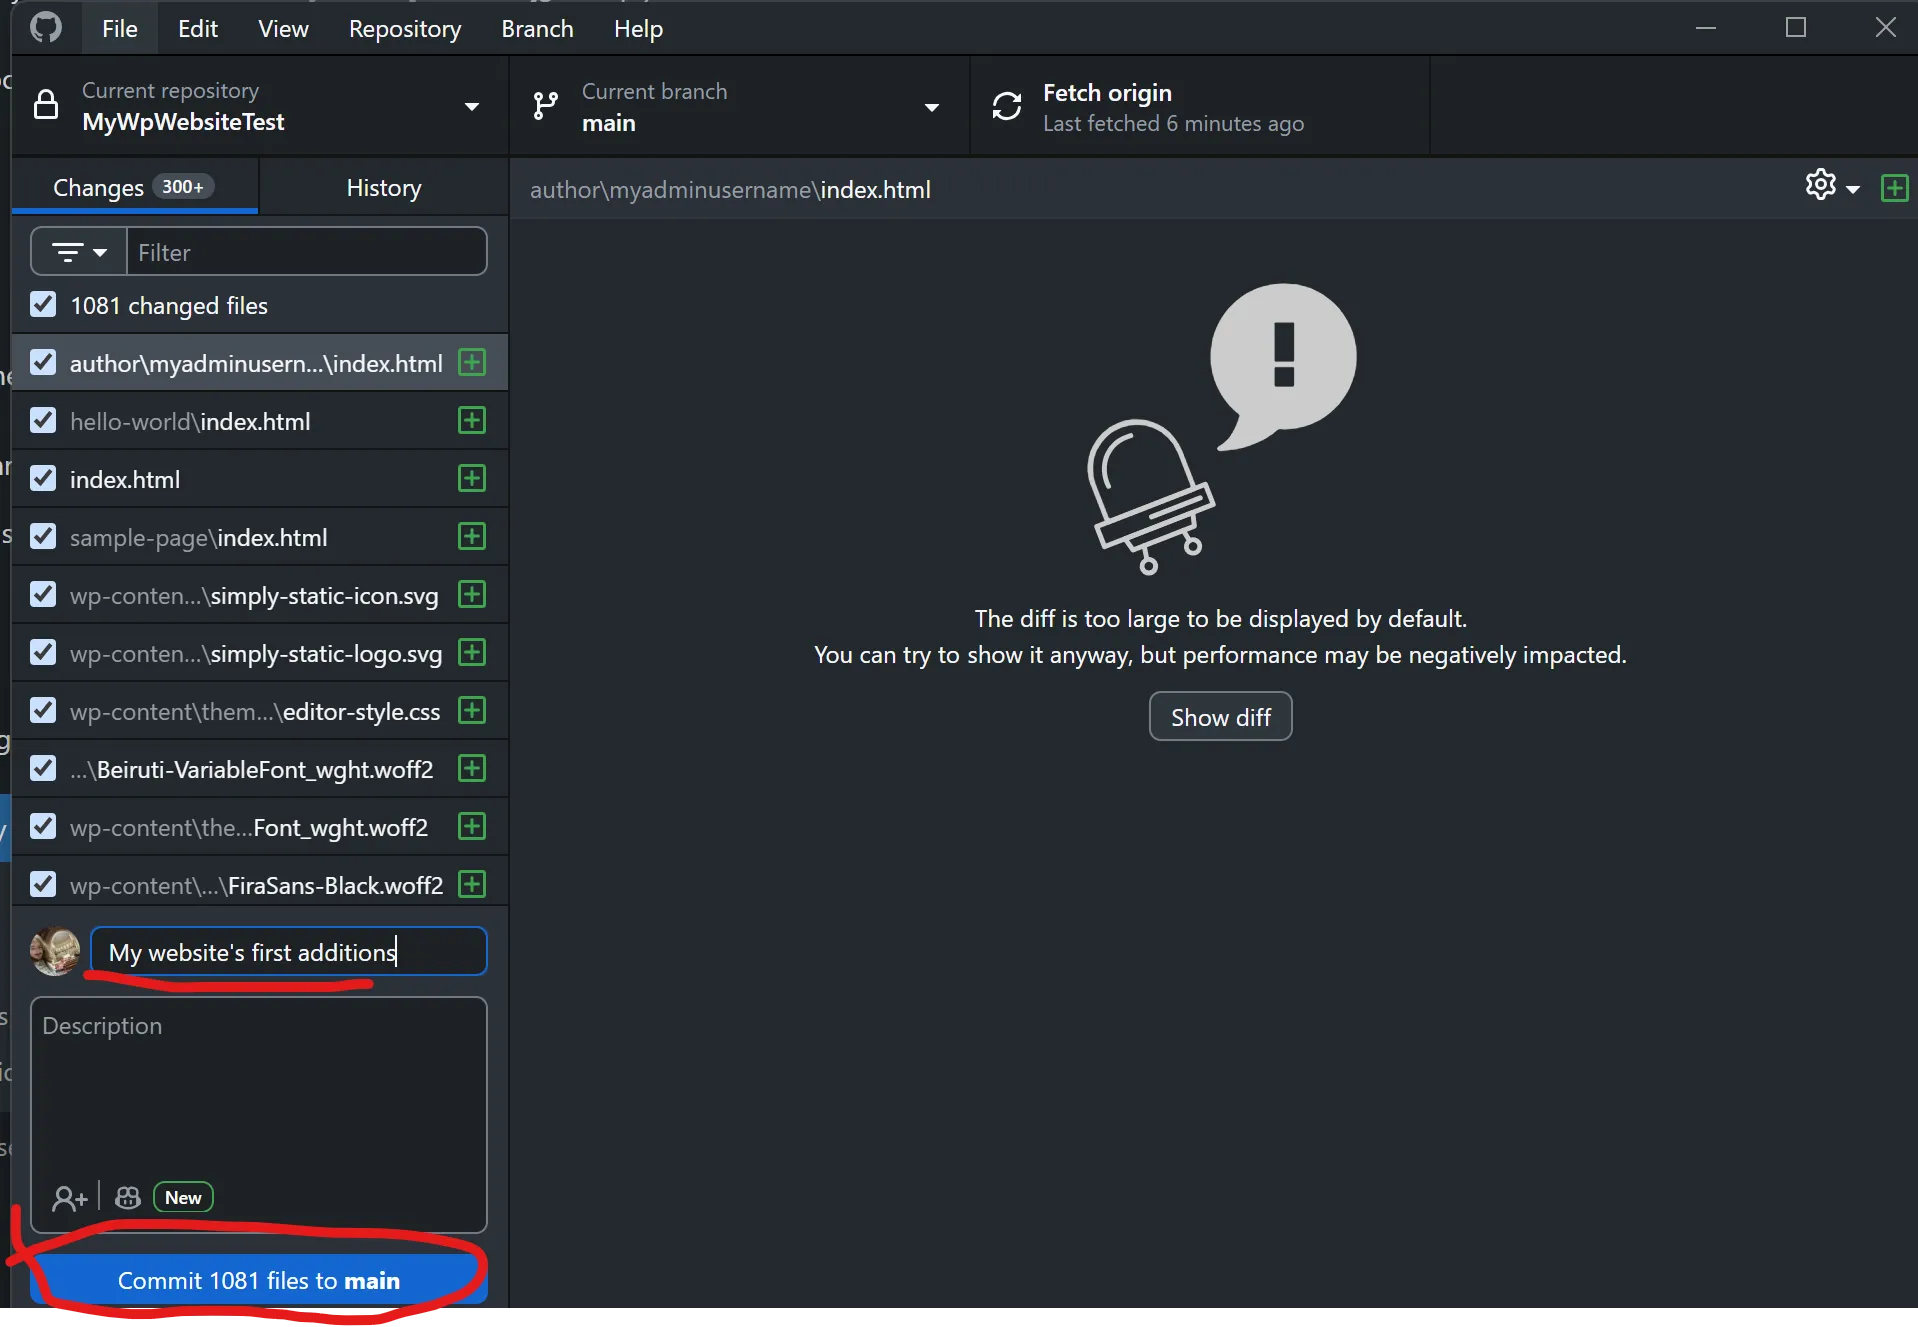
Push your changes to your website to be deployed.
Deploying our website using Cloudflare Pages
First, create an account at Cloudflare
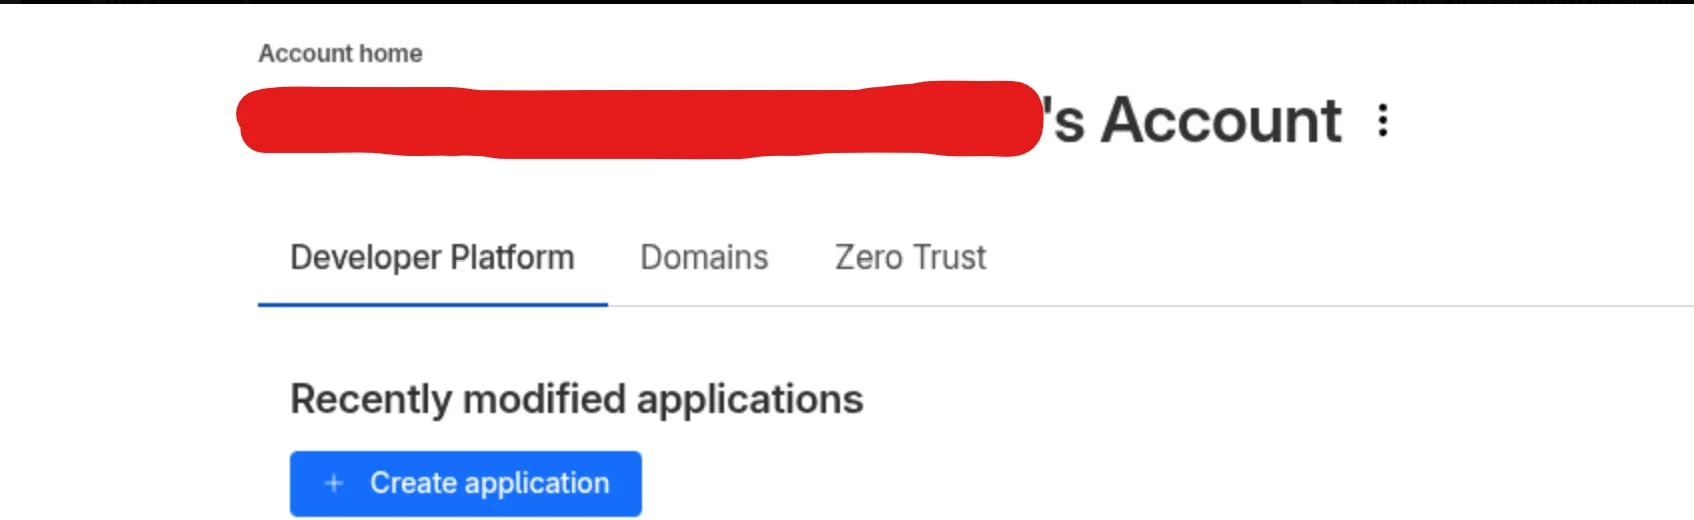
On the Cloudflare dashboard, Create an application
Look for the prompt at the bottom of the box saying “Looking to deploy Pages” and click Get started. Get started and Import an existing Git repository. You’ll be prompted to select a repository to deploy a site from. Since we select the repository you created and pushed from GitHub Desktop.
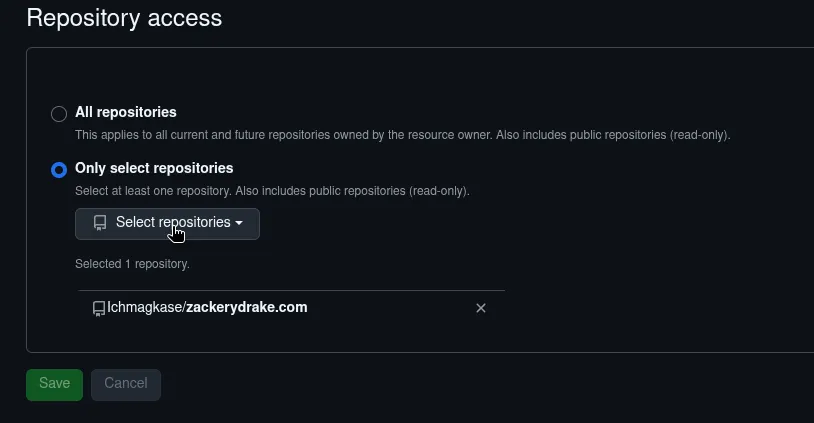
Note: If you’re connecting for the first time, you may need to give Cloudflare access to your repository. Scroll down to the repository access section and select your repository from the dropdown.
Afterwards, click Begin setup, then Save and Deploy
It will take a moment the first time it deploys your website. And with luck, you should see:
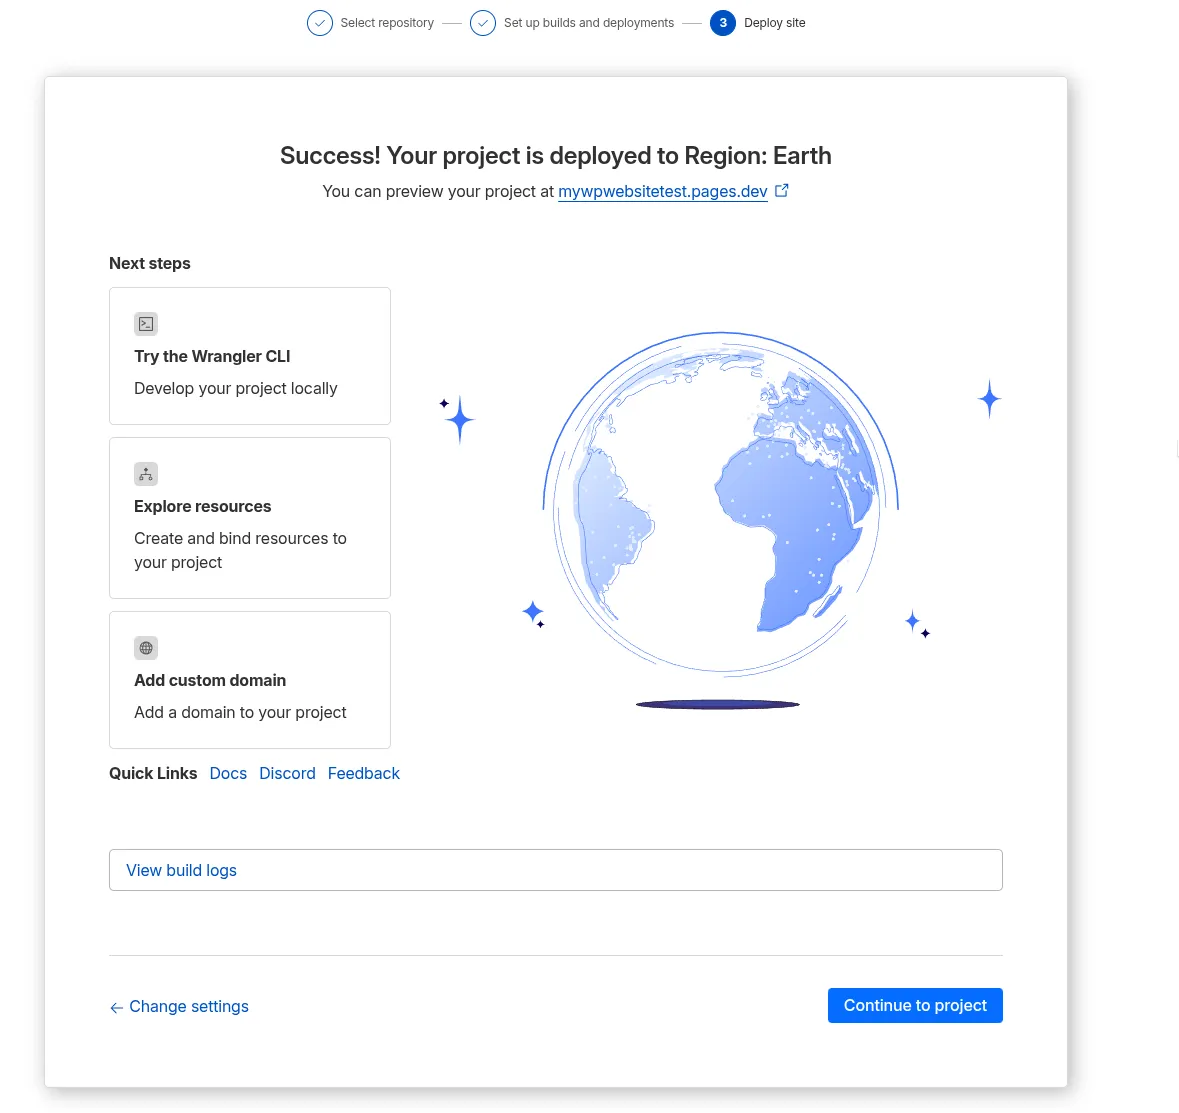
At this point, you can see your project with the link at the top, however instead of being the name you likely want, I’ll look something like “yourrepositoryname.pages.dev”.
Click Continue to project for the next steps
Naming our website using Cloudflare DNS
Now that we have deployed our website, we need to give it a domain name that represents us or our brand better. Something like “example.com” is a lot cleaner and easier to remember than “examplerepository.pages.dev”
In Cloudflare, from the left navigation all the way at the bottom, you can find Domain registration and under that, Register Domain.
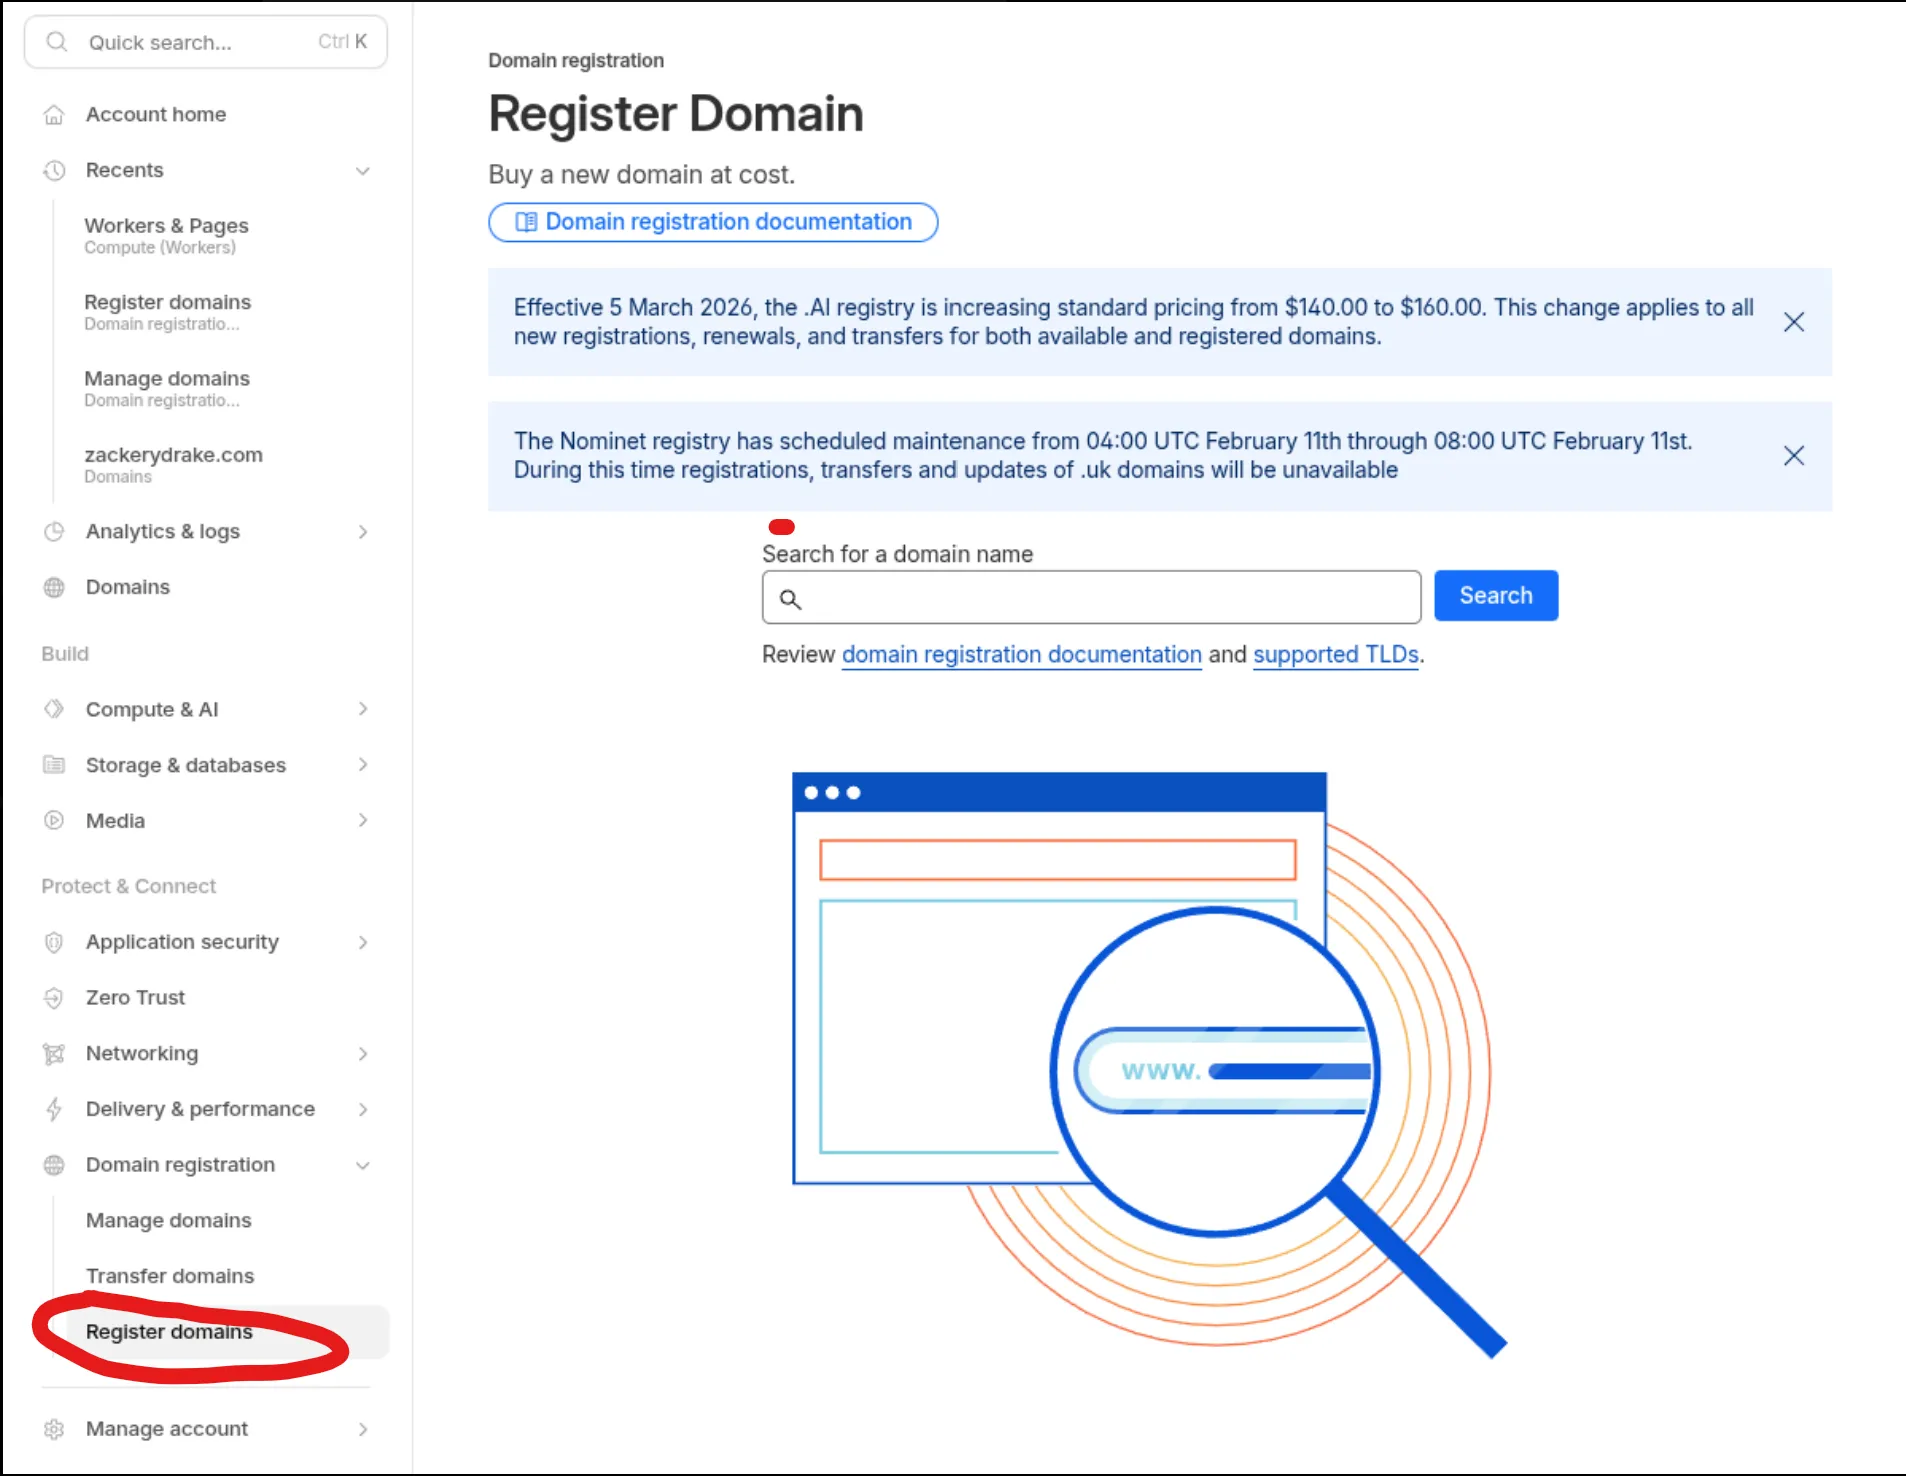
Search for your domain name of choice here. You will get a selection of results to choose from. Domain names are usually priced between $10 for a year, or $20 for a year. Once you purchase a domain, you can link it to a project from Account home, select your application name, Custom domains, Setup Custom domain, and type the domain you just purchased here. Cloudflare will recognize it, and all you have to do is click Activate Domain. Usually within an hour, you can type your domain name into any browser on any device, and you will see your new website.
Conclusion
From this point, you can go back to Local and design your website. when you’re happy with the preview, you can use the Simply Static plugin to export your website and prepare it for deployment. Once it says “Done”, go to GitHub Desktop to commit, and push your changes. This is all we have to do! Since we dealt with all of the behind the scenes technical details already, we don’t have to worry about re-deploying, since Cloudflare and GitHub handles this for us. After deploying, check back at your website, and see your changes after a couple minutes.
Hope this guide helped anyone who’s been hesitant to dive into building their own website!