Tutorial: Setting up espressif ESP-IDF for low level ESP32 development
Understanding how to program on an ESP 32 micro controller can help build a background that has applications in IoT devices and embedded software engineering for autonomous systems. For example, when building a smart doorbell, before manufacturing a PCB product engineers may test the code and logic using a board such as the ESP 32 for easy and fast prototyping. In embedded systems, the most common programming languages are C and C++ for their portability (ability to run on diverse hardware and operating systems) and performance. It is assumed the user is familiar with Visual Studio Code or a code editor, some fundamentals programming in C, and is interested in learning embedded programming on an ESP32. By the end of this tutorial, you will have set up the ESP-IDF installer set up on Windows using the offline installer, or idf.py set up on Linux.
Required Hardware:
- An ESP32 board
- USB cable (as compatible with your ESP32)
- Computer running Windows or Linux
Required Software:
- Visual Studio Code or code editor of choice
- Git
This guide will cover setting up idf.py, setting up the physical workspace, and running a first program
How to install ESP-IDF
The following sections guide you through the steps of installing espressif ESP-IDF and running your first program
Setting up idf.py using the git repo
- Open the terminal
- Run the following commands:
git clone –recursive https://github.com/espressif/esp-idf
cd esp-idf- Execute your respective install file (install.sh, install.ps1, etc.)
Setting up idf.py using the installation manager (Windows only)
- Go to https://dl.espressif.com/dl/eim/?tab=offline
- Under offline installer creator, click “Download”
- Wait for install to finish
- Back on the install page, look under “full Offline Installation Archives”
- Click the download button next to archive_vv5.4.3_windows-x64.zst (Figure 1)
 Figure 1: Download archive file for Windows
- Wait for install to finish
- Double click the executable starting with “eim-gui” to open the installer
- Follow the prompted installation steps, keeping the default except for accepting the usage agreement
- Once installed, open ESP-IDF installation manager
- Click install new version
- Of the 4 options, click “Browse archive file” under “Offline installation”
- When prompted, select the .zst file from your downloads folder (Figure 2)
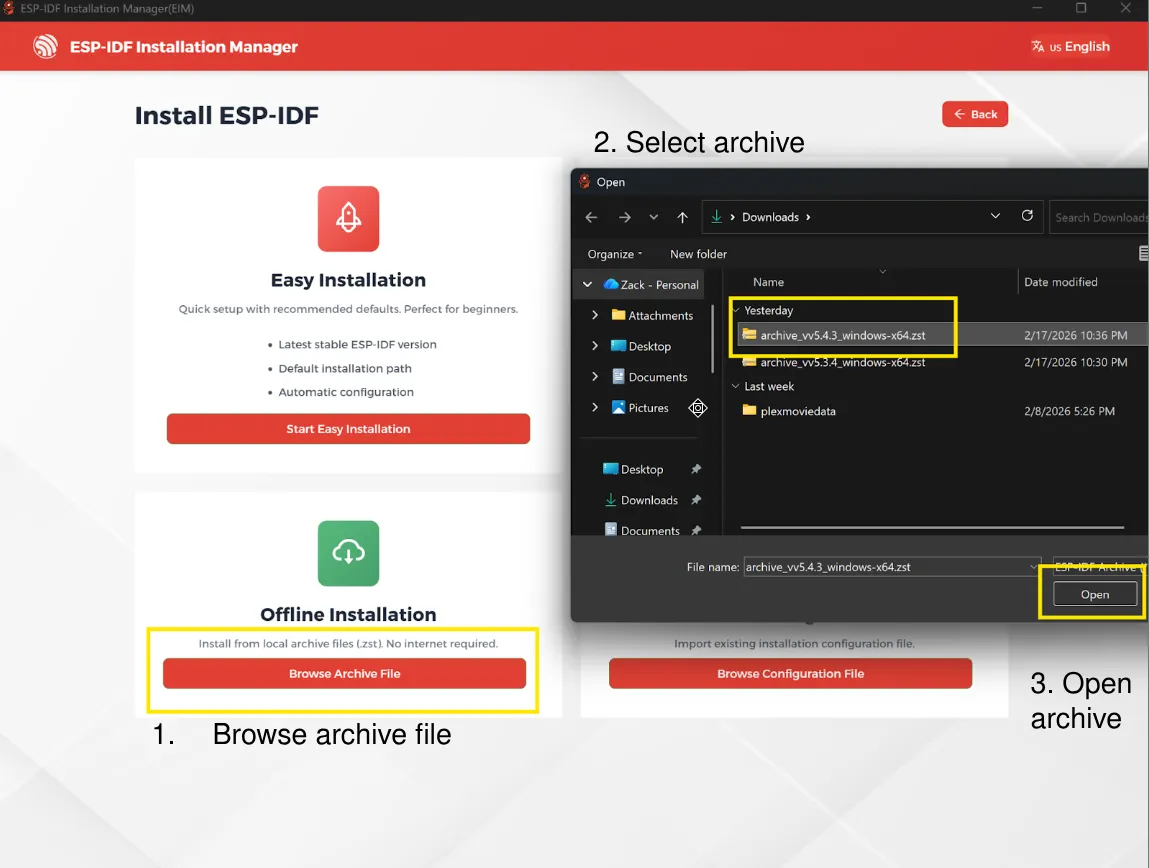 Figure 2: Selecting the archive file from ESP-IDF Installation Manager
- Click start installation
- Wait for installation to finish
Setting up physical workspace
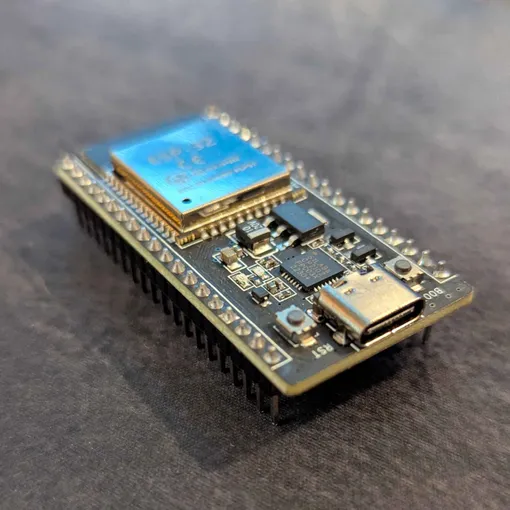
- Unpackage your ESP32
- Plug the ESP32 into your powered laptop or PC using a USB C or Micro USB cable.
- Ensure the red light comes on, indicating the board is powered
Running a first program
First identify the port on your respective Operating System:
Windows
- In the windows search bar, search for “Device manager”
- Click on “Device Manager”
- Observe the initial options underneath the “Ports (COM & LPT)” tab.
- Unplug the ESP32
- Make note of the port that changed (COM4, COM5, COM6, etc…) (Figure 3)
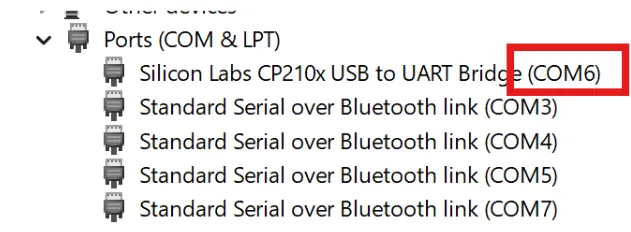
Figure 3: Selecting correct COM port
- Plug the ESP32 back in after noticing the changed port
Linux
- Open the terminal
- Execute “ls /dev/tty*”
- Observe the initial options
- Unplug the ESP32
- Make note of the port that changed
- Plug the ESP32 back in after noticing the changed port
Copy the example program
- Create a new folder. The name of the folder does not matter, this is where we will store our example program.
- Navigate to the ESP-IDF get-started example programs. On Windows this can be found at:
C:\esp\v5.4.3\esp-idf\examples\get-started\
Or on linux:
~/esp-idf/examples/get-started
- Copy the hello world folder to the directory you created earlier
- Make note of the path of this folder you created, now containing the hello_world example. This path will be used in the following steps to execute the program.
Start ESP-IDF session
Windows
- Open the ESP-IDF installation manager,
- Under your installed version, click the first icon from the left to open the IDF terminal
- Once the terminal has opened, paste the command with your copied path to change to that folder (figure 4):
cd 'C:\[the rest of your path\]\yourfolder\hello_world![]()
Figure 4: Change directory to your folder
Linux
- Open the terminal
- Run:
~/esp-idf/export.shNOTE: At this point, you may open hello_world_main.c to see the source code and begin to understand how this program works.
- Execute “idf.py set-target esp32” so idf.py knows to flash to an ESP32
- Execute “idf.py -p PORT flash monitor” to flash the ESP32 and view its output
NOTE: Observe the output. This is running on the ESP32.
Conclusion
After running this initial program, you now know how to set up and run programs on the ESP32. From here, you can go back to the examples folder and try understanding and running other example programs, or you can try modifying the code in the example programs to see how it changes the outcome of running the program. Good luck!